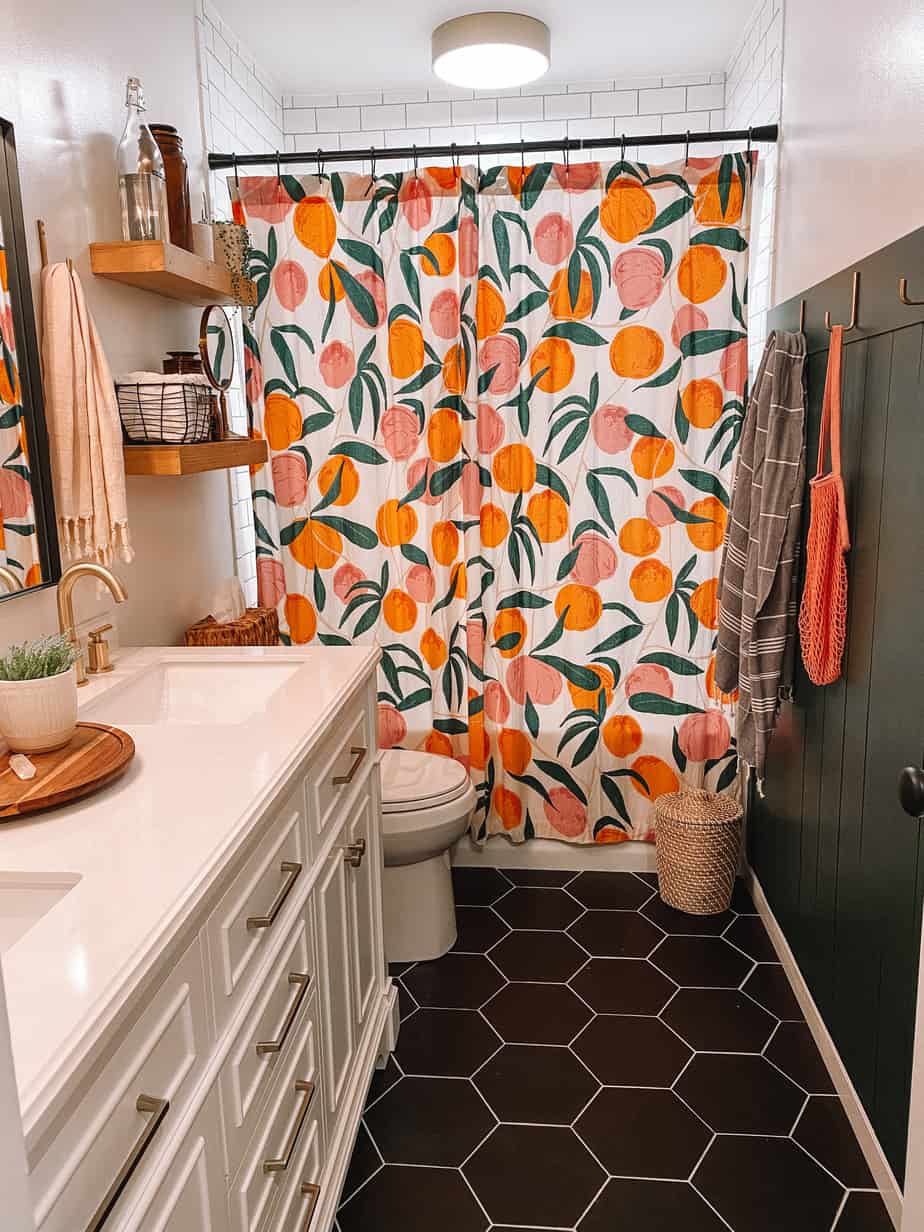
I think we can all agree that the word "shiplap" has permanently engraved photos of country farmhouses in our minds. For those of us who went a little overboard with all things rustic and vintage, you might even be triggered by the word 

This post may contain affiliate links, which means I’ll receive a commission if you purchase through my links, at no extra cost to you. Please read the full disclosure for more information.
Pick your materials
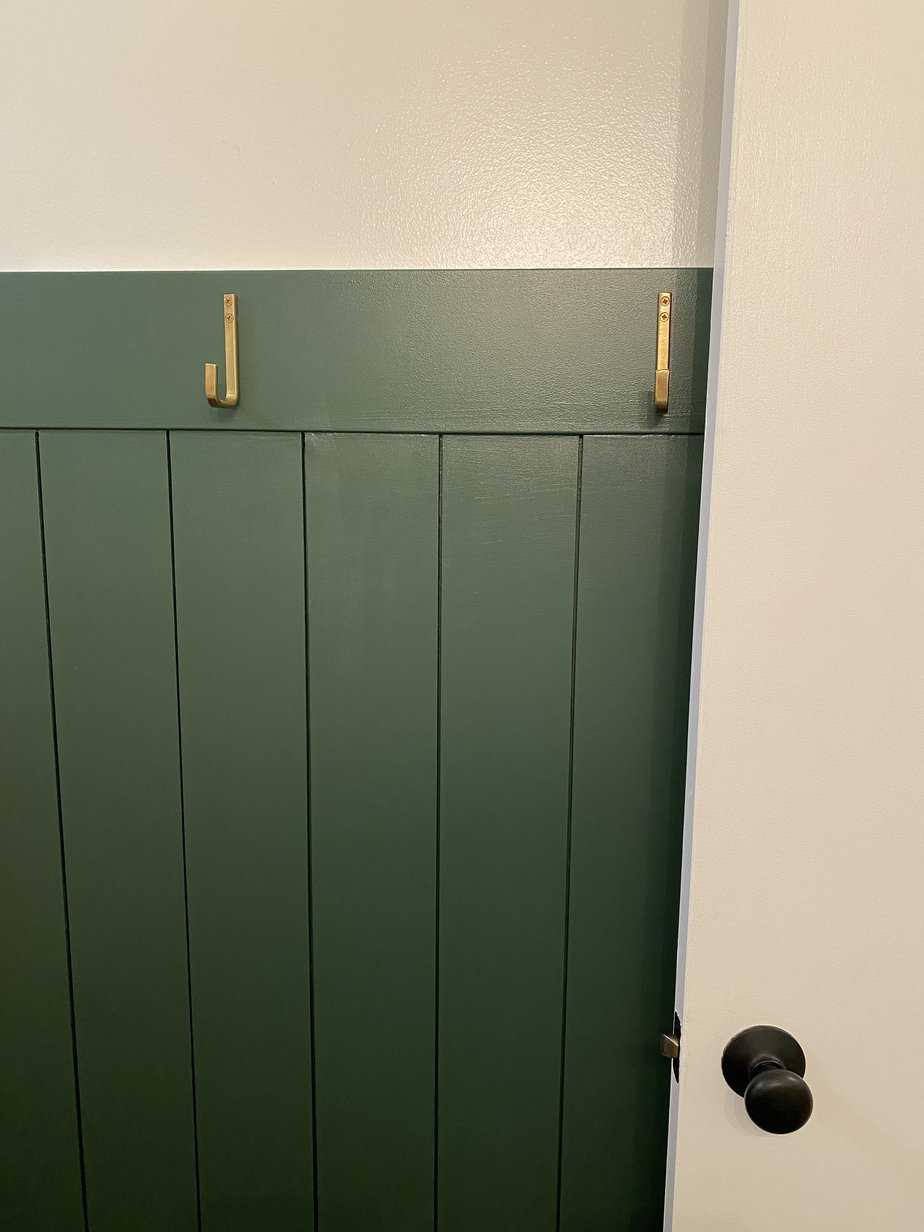
If you search for shiplap tutorials on Pinterest, you will find tons of different materials and methods. We decided to use primed shiplap planks because they are self-spacing which creates perfect gaps between each board. We purchased the 12 foot boards and cut each of them to 4'6". We use primed MDF boards for the trim pieces on the top and the edges. You can also use this as the floor trim if you would like. Our top board is 6 inches and our side boards are 3 inches. We left our original floor trim in place, which was 3 inches.

Install your boards vertically
I think that installing the boards vertically instantly makes shiplap look more modern. I would recommend gluing the back of each board to your wall before you nail them. We lazily skipped this part and some of our boards are "bowing" out. Learn from our mistakes!!
Use caulk + my life hack!
Apply caulk where the shiplap boards meet any of your trim pieces. This will hide any imperfect cuts and make your shiplap look more professional and "built in" to your wall. To smooth out the caulk, wrap your finger in a baby wipe and run your finger gently over the caulk lines. If you've ever used the "wet finger" technique to smooth out caulk lines, this hack is a serious game changer!

Paint it a bold color
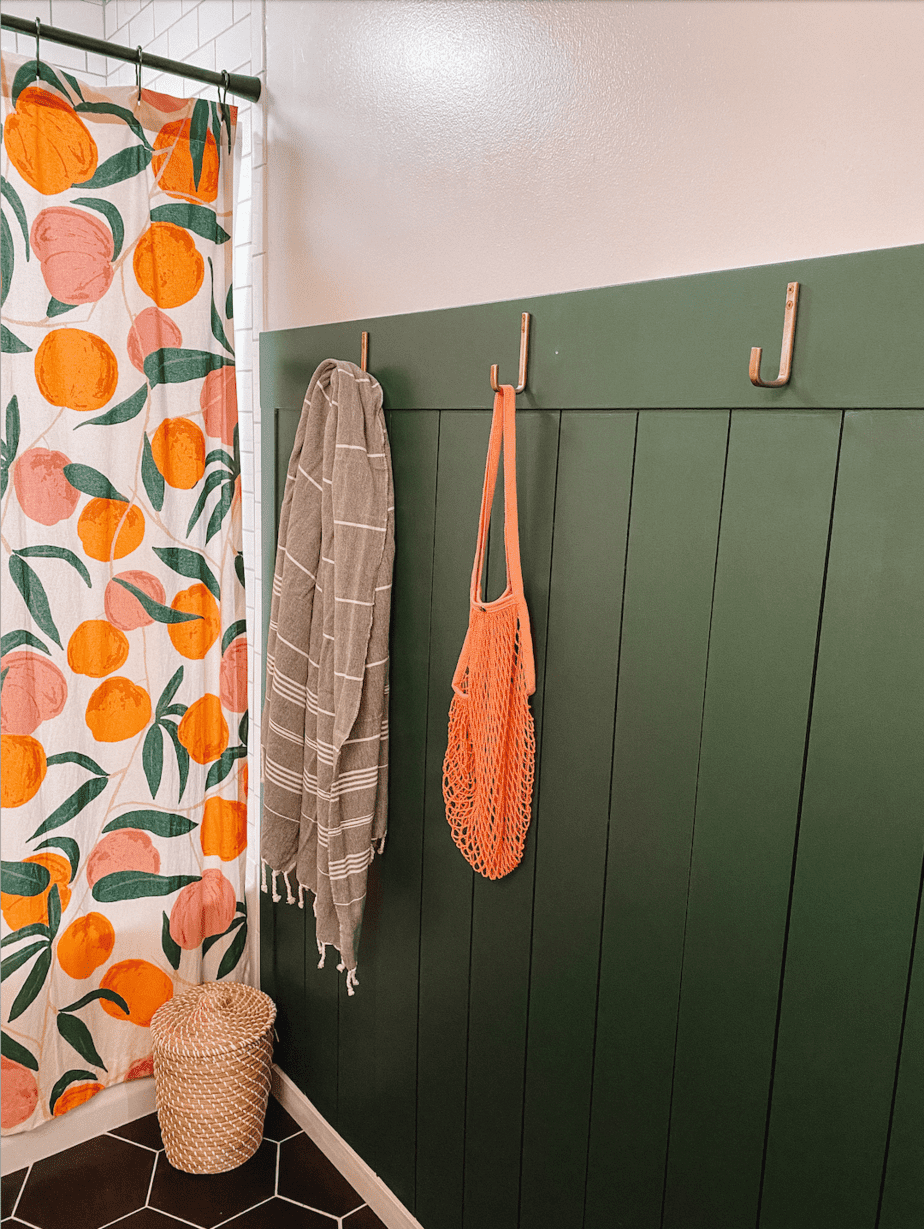
To make your vertical shiplap wall look more modern, paint it a bold color that makes a statement! I asked my Instagram followers which color they thought I should paint mine and almost every response was recommending some shade of green! I ended up going with Coriander and Olive from Sherwin Williams. This color was definitely out of my light and airy home style, but I absolutely love how it turned out! Tip: paint between each board with a brush but use a foam roller overall to maintain a smooth texture.
Accessorize
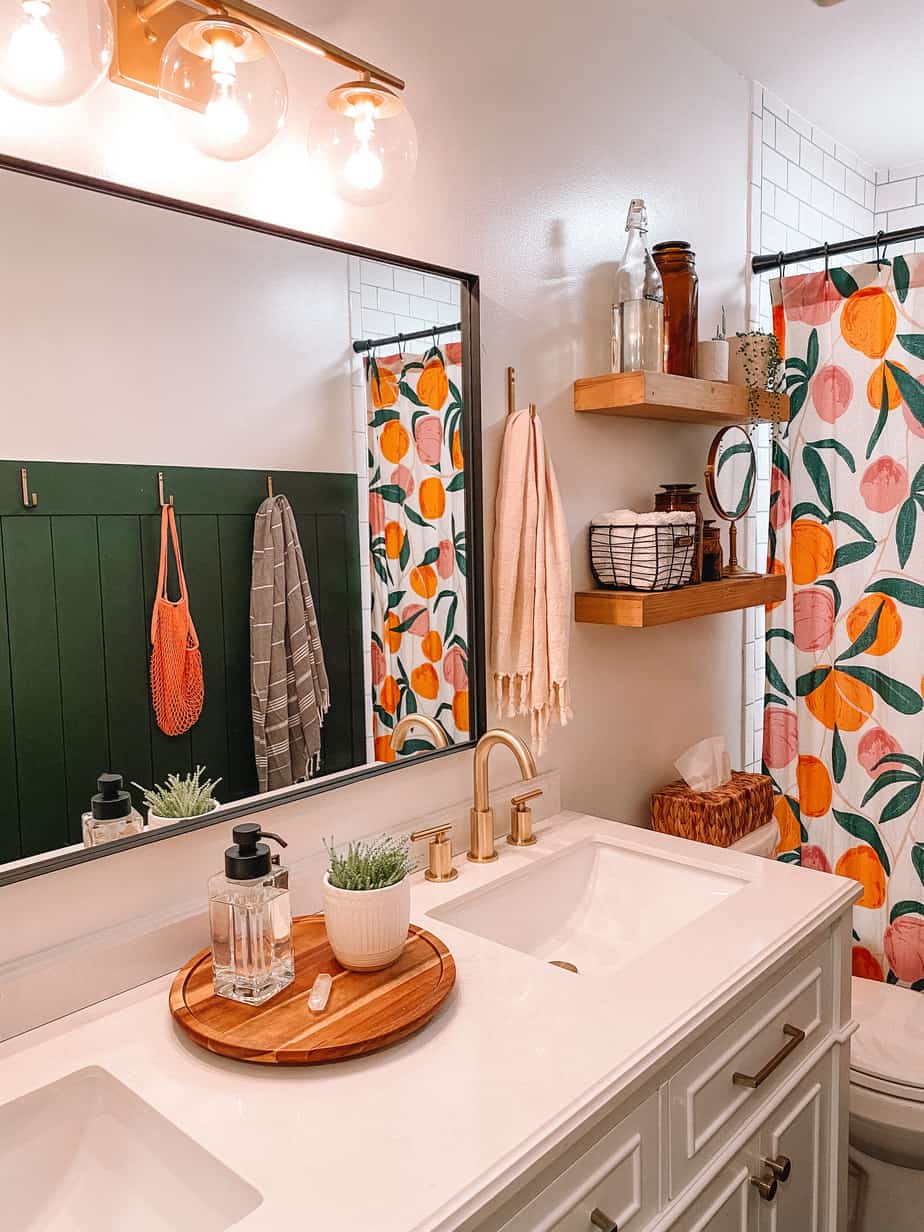
Because we installed this shiplap wall in our bathroom, we needed a few hooks to hang our towels. I used these J hooks and I think the gold finish adds a modern touch to the shiplap. I also plan to add a gallery wall above the shiplap once all of my prints come in. Make sure to follow me on Instagram because I will definitely post an update when I have the gallery wall complete!

Shop my home decor here
This is a simple DIY project that makes a statement! I hope this post gave you some useful tips and tricks on how to install vertical shiplap in your home. Thank you so much for reading!

February 9, 2025
In this post I am sharing all of the details on our living room playroom! Read More
June 12, 2023
I recently gave our guest bathroom a makeover, but not just any makeover - a Read More
February 18, 2022
The wall space behind your couch can be tricky to decorate, especially if you have Read More
