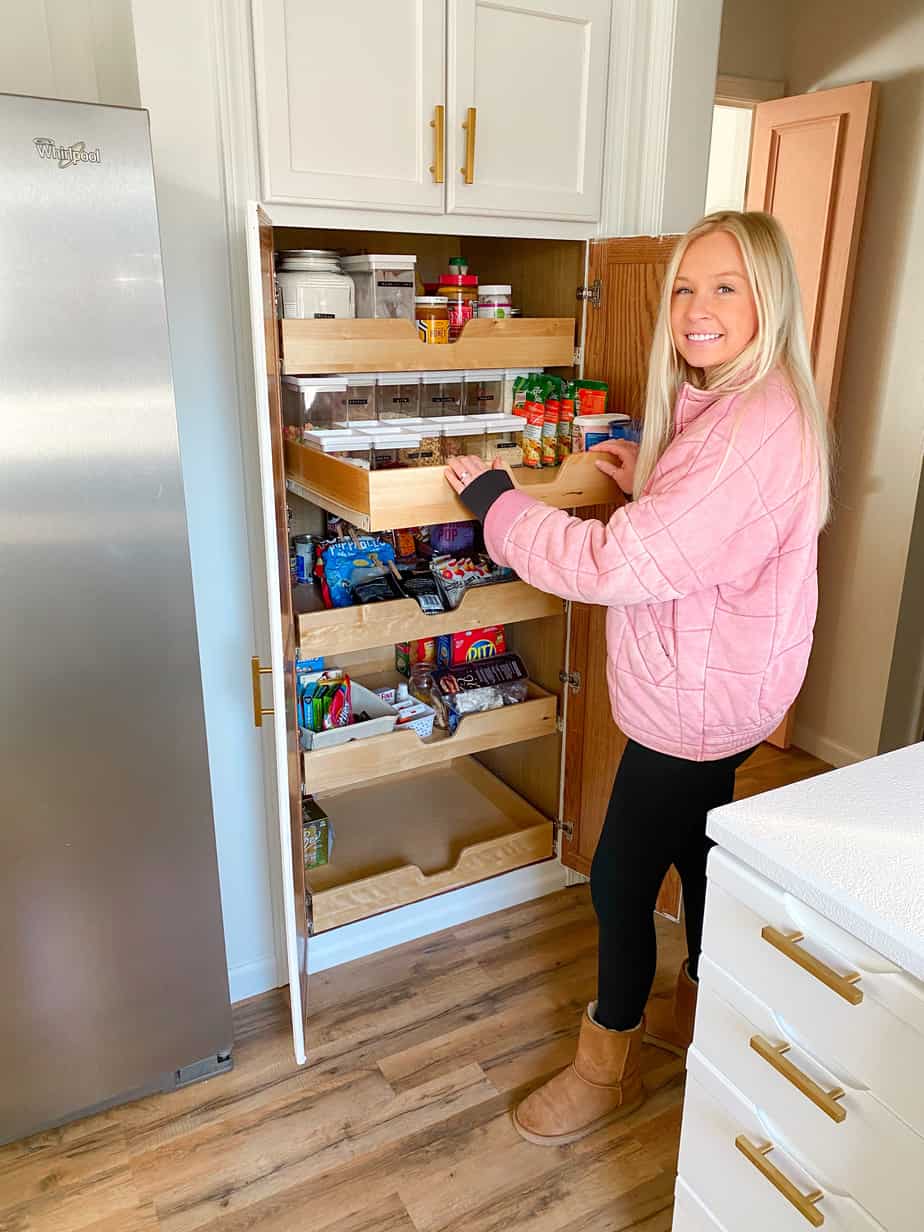
We’ve all seen those beautifully organized pantries on Pinterest and Instagram but the issue is that they’re just not very practical. I attempted to organize our pantry in an aesthetic manner a few of years ago, but it was difficult to maintain and ended up messy and cluttered. When I cleaned it out last week I found canned goods that expired in 2019 – gross! My goal with organizing our pantry this time around was to make sure it was super functional and easy to keep in order. This post is all about 5 small pantry organization hacks that are actually practical .
This post may contain affiliate links, which means I’ll receive a commission if you purchase through my links, at no extra cost to you. Please read the full disclosure for more information.
Before you start to organize your pantry, pull everything out and throw away any items that are expired or wasting space. While you’re doing this, take note of things that you aren’t using because you can’t see them or they are difficult to reach. It’s also a good idea to brainstorm which items make sense to keep together, such as your morning smoothie ingredients or grab-and-go snacks.
1. Install pull-out shelves
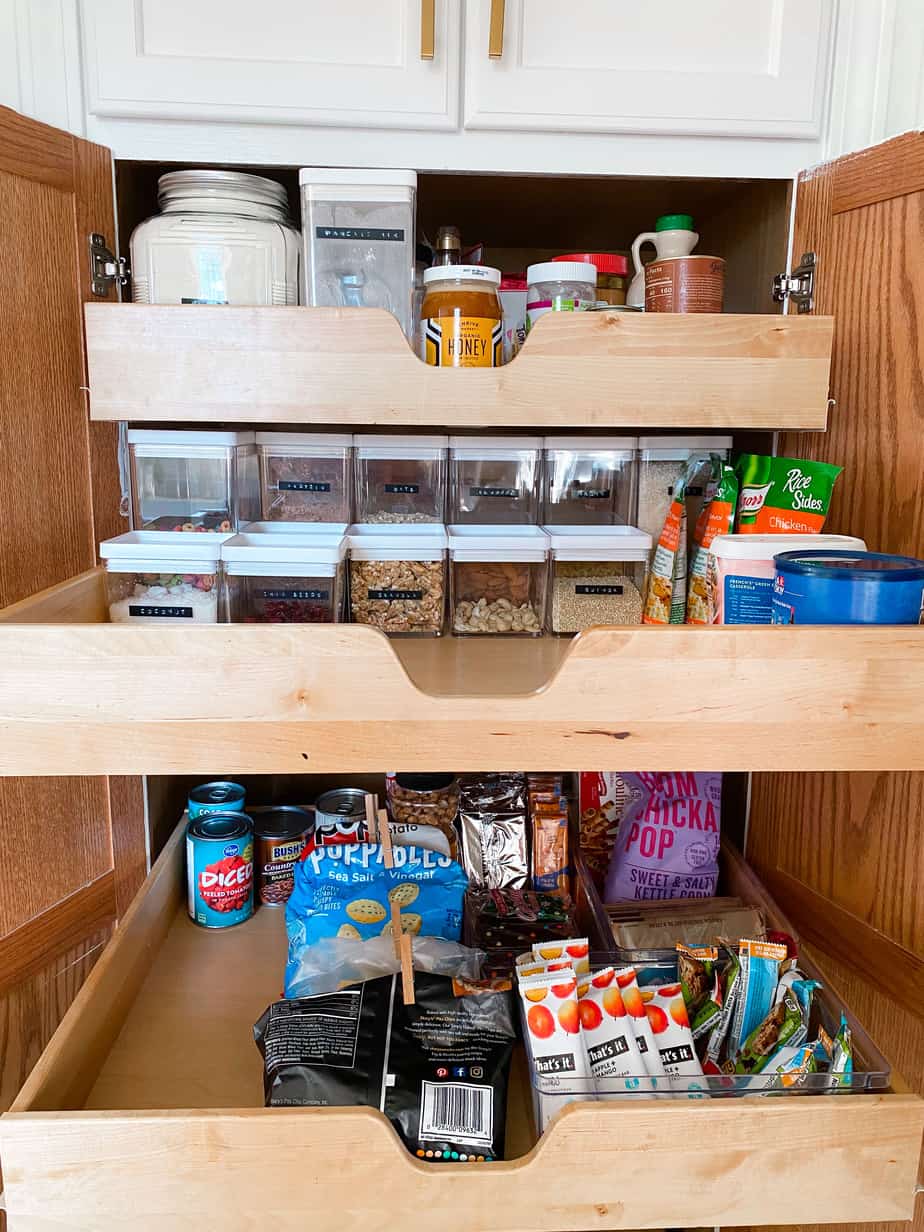
The pull-out shelves in our small pantry give us so much extra space. The best part about them is that we don’t have to dig through everything to get to items in the back. It’s also very helpful to be able to pull out the bottom shelves to see items that are near the floor. Before you install pull out shelves, get an idea of what things you will keep on each shelf so you know which height to install each shelf at. The only thing I would change about our pull out shelves would be to use soft close sliding hardware. I have to be careful not to slam the shelves shut when I’m grabbing my midnight snacks – haha!
2. Categorize each shelf
If you have shelves that are hard to reach, use them to store items that you don’t use often such as small appliances or back stock food. Before organizing our pantry this time around, I kept all of my baking ingredients on our top shelf. I realized that every time I needed to use the brown sugar, it was a whole ordeal to pull over a chair to stand on and pull out a million things to get to the brown sugar which was shoved in the very back. I ended up putting our juicer and back up stock of bottled drinks on the top shelf instead, which is perfect because we don’t need to reach for those things very often. Another tip is to make sure your healthier snacks are at eye-level and your junk food is in an area that isn’t as easy to see or reach. I highly recommend storing a foldable stool somewhere in your kitchen too!
3. Use clear, stackable containers
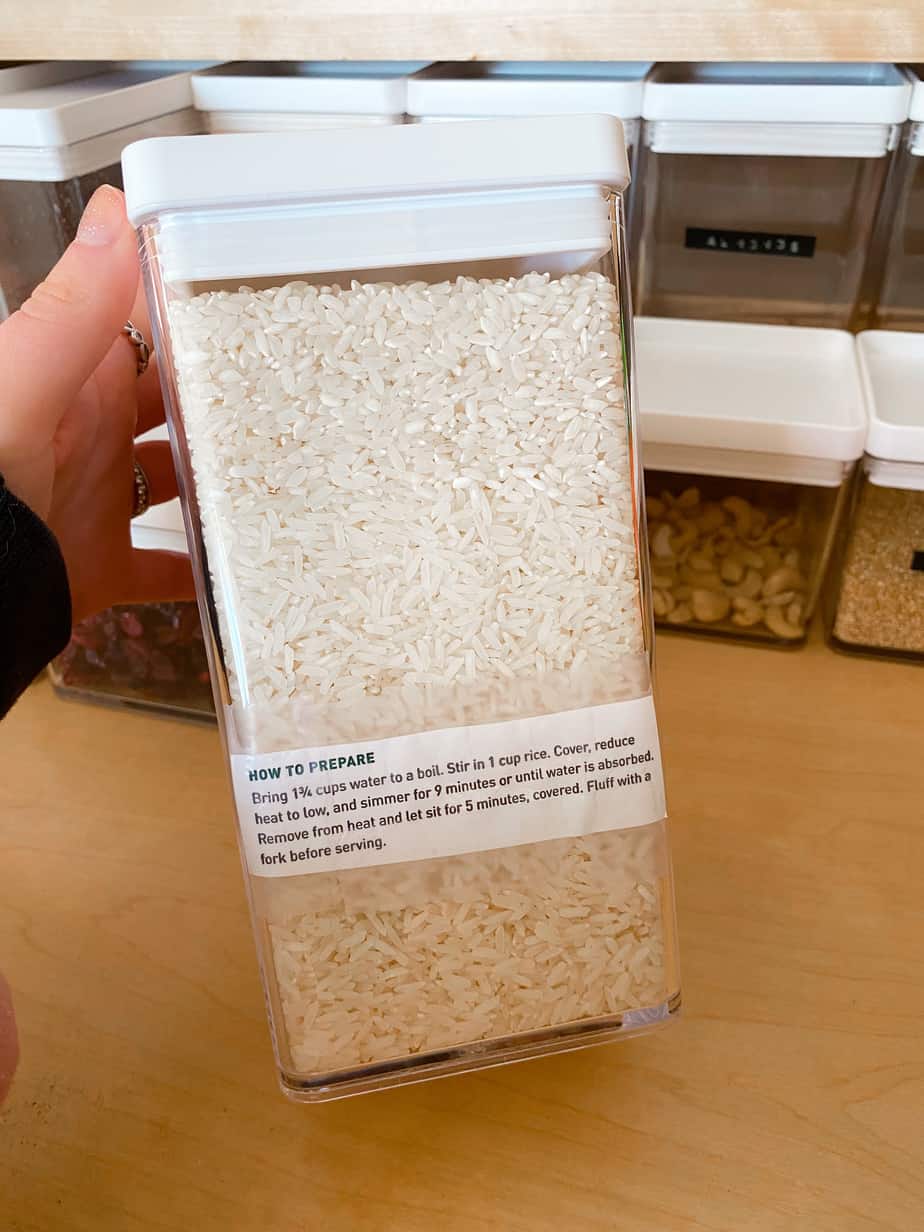
It’s no secret when it comes to pantry organization that clear containers are key. The issues I was running into were that my containers were taking up too much space and I didn’t have the cooking instructions that are on the normal packaging. I found these stackable plastic containers that come in a few different sizes and I love these bins for storing breakfast bars, popcorn bags, etc. My solution to the cooking instruction dilemma was to cut out the details from the packaging and tape it to the back of the containers. You could also use a dry erase marker to write the expiration dates on your containers.
4. Label everything
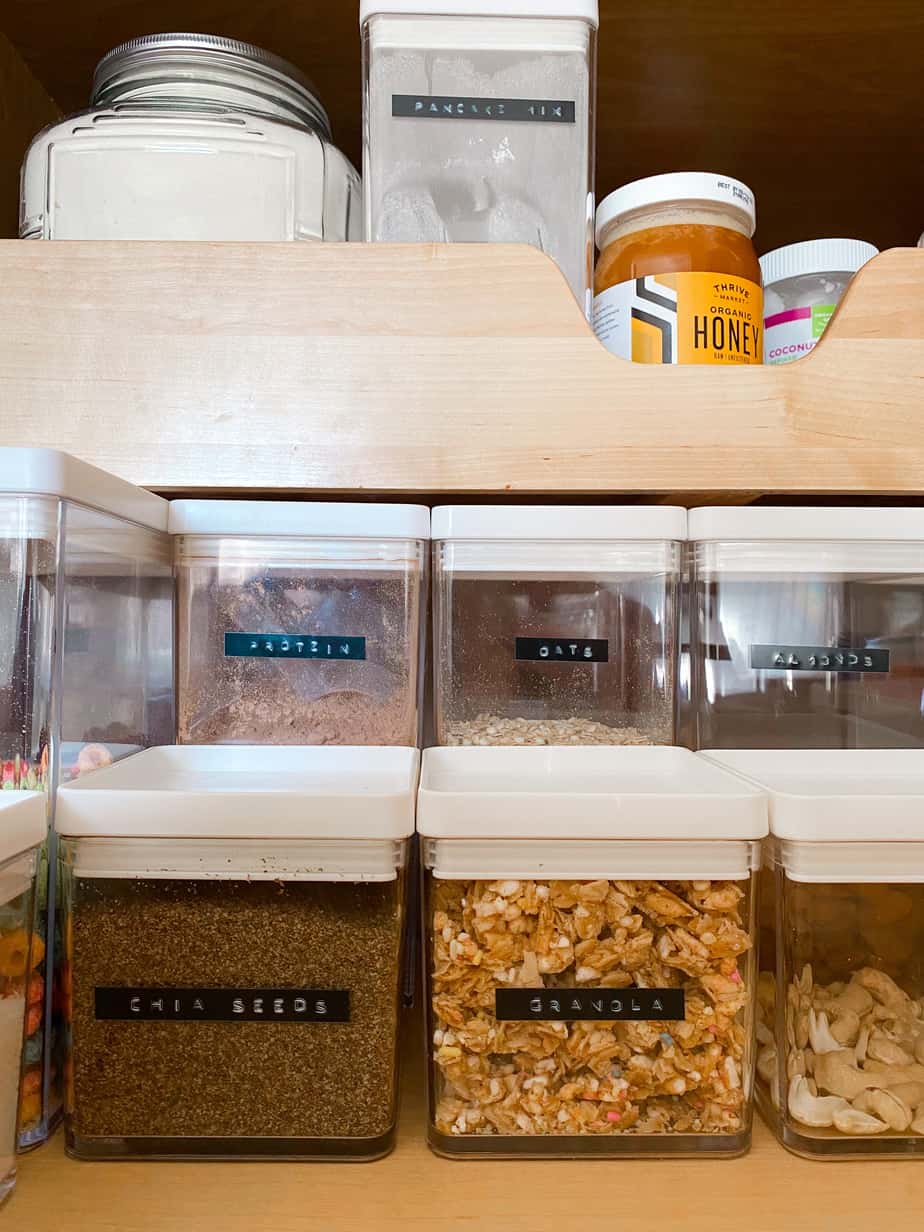
My tip for labeling is to only add specific labels to items that you purchase on repeat such as sugar, flower, and pancake mix. You might want to keep other labels more general such as cereal, nuts, and grains if you tend to switch these items up. By labeling each container, your groceries always have a spot to go. Just like the grocery store! Plus, it’s easy to see what foods you’re running out of and need to be replaced. My favorite, easy way to make labels is using this embosser. I love the vintage look of the labels that it makes and the back of the tape is sticky so you can attach it right to the container. I have also seen people create their own labels for free on Canva and print them on sticker paper. For the easiest labels ever, just write on the container with a dry erase marker.
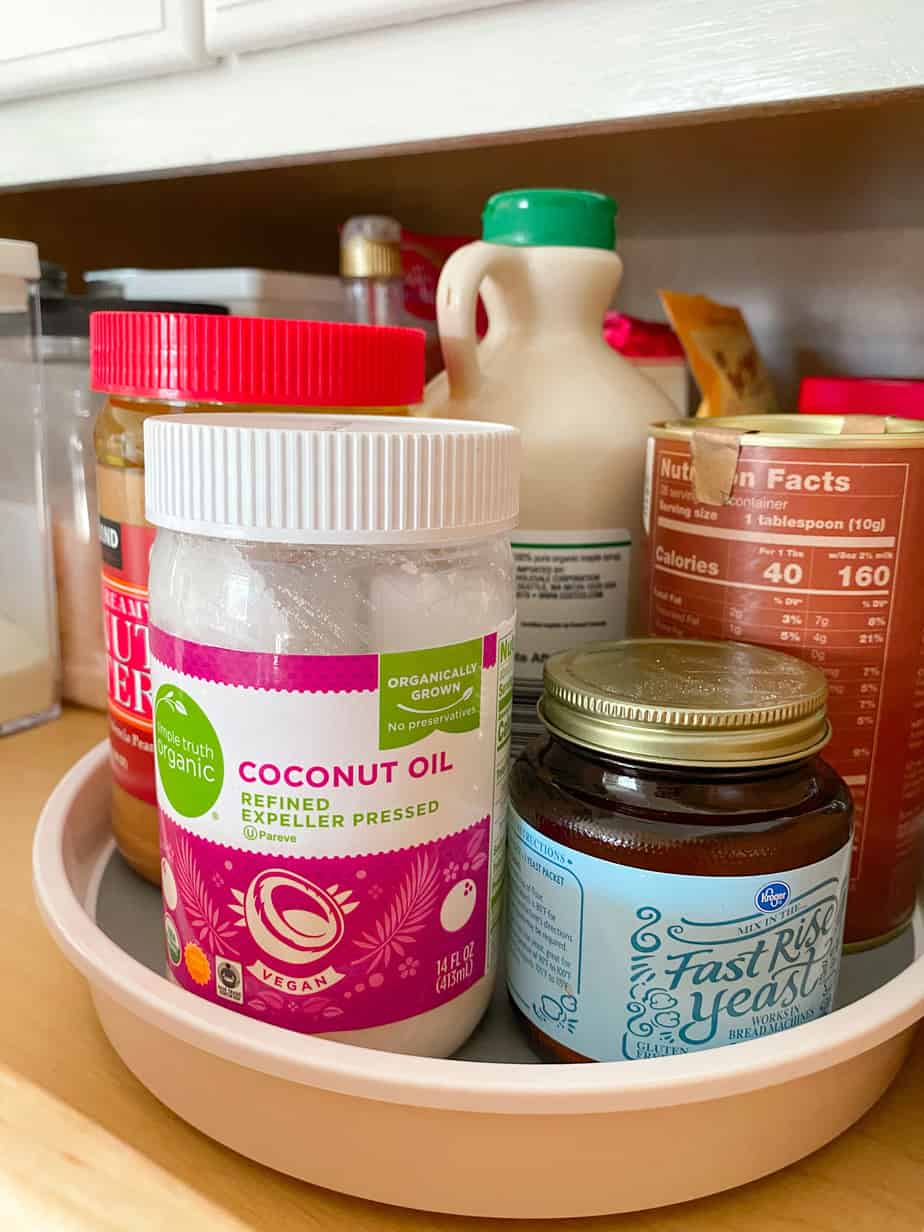
5. Use Lazy Susans / Turntables
I just purchased a few of these and they are life-changing! It’s amazing how much space you can save by using a Lazy Susan. Sorry Susan… let’s call them turntables. I want to get another one to put in our refrigerator. I think one would be helpful under the sink as well. These are perfect for storing things like peanut butter, syrup, and cooking oils in your pantry.
So far, these small pantry organization hacks have helped keep our food storage clean and tidy. It’s also been easier to stick to my healthy eating goals because I can actually see all of my ingredients rather than thinking all we have to eat are pre-packaged and processed foods. I also feel like you are less likely to waste food and spend extra money at the grocery when you have an organized pantry!
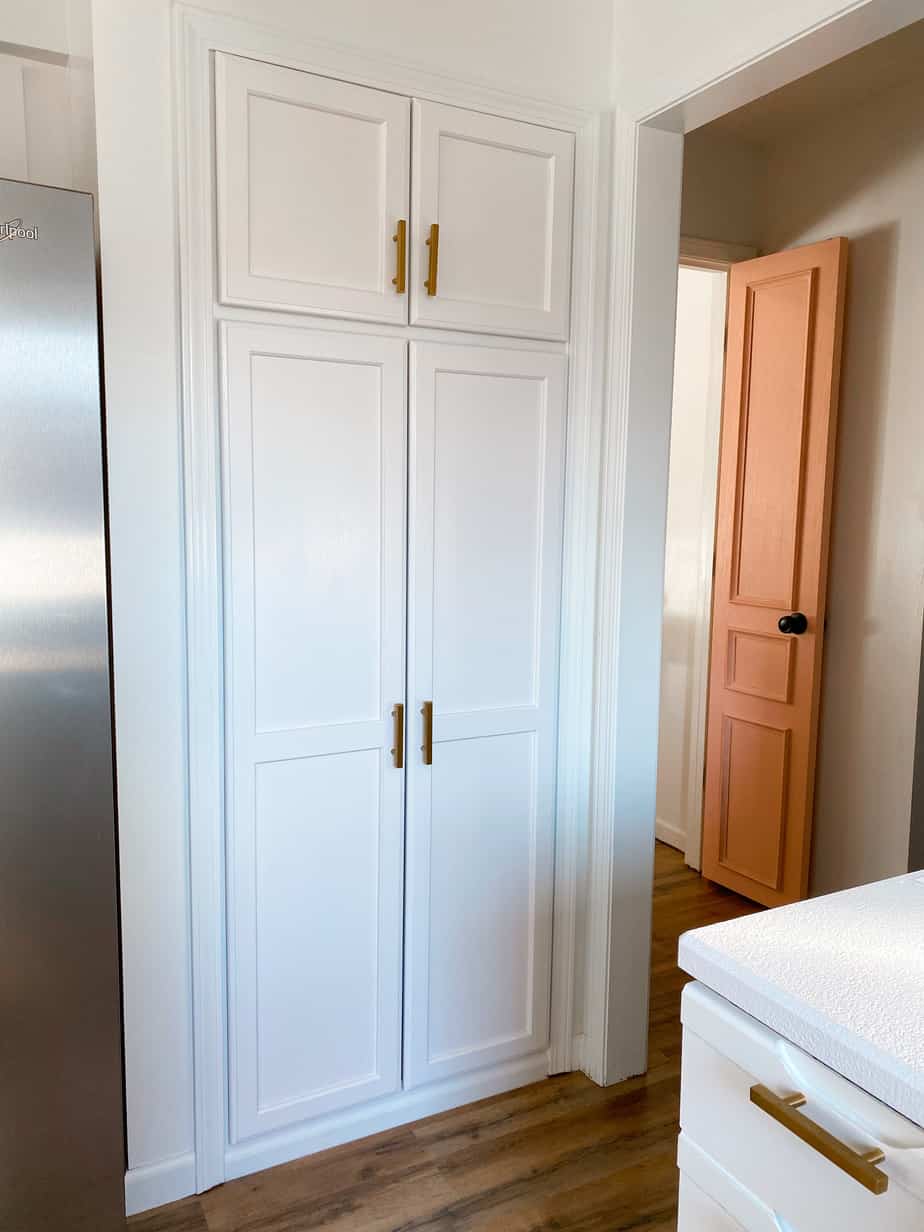
If you’re interested in seeing the process of cleaning and organizing our small pantry, watch the video below!
Do you buy your groceries online or in the store? I started shopping through Thrive Market last summer and it’s seriously the best! I love it because they carry a lot of the healthy brands that aren’t available at our local Kroger where we usually grocery shop. I’ve tried so many new healthy snacks and love browsing through the app to see what they have available. Although it’s not required to order monthly, I purchased the annual membership because it ended up only costing about $5 per month. If you want to try it for yourself, use my link which allows you to choose a free gift!
I hope you found some helpful small pantry organization hacks from this post! Thank you for reading and supporting my blog!
Xo, Ciara
[rpwe limit=”3″]

