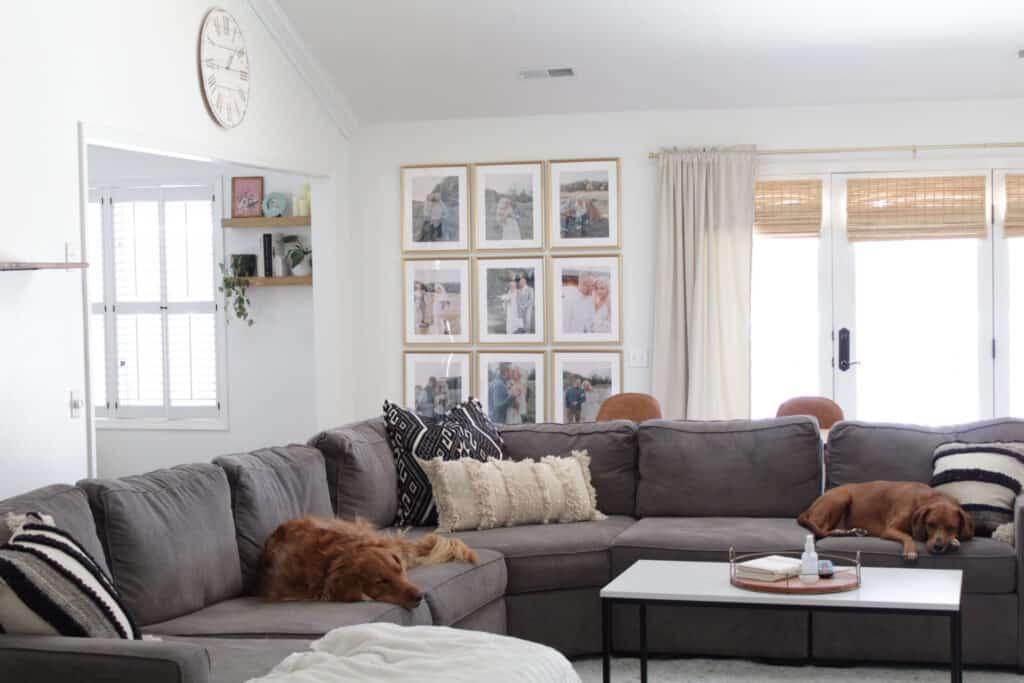
Almost every time I post a picture of our living room on my Instagram, I get a message asking about my gallery wall. It is definitely one of my favorite parts of our house and I think it makes a big statement right when you walk in the front door. Our gallery wall is filled with pictures from our engagement shoot and wedding, but you could really fill them with any type of photos! I think that a picture wall filled with all black and white photos looks really nice too. In this post I am answering all of the common questions I get about our living room gallery wall!
This post may contain affiliate links, which means I’ll receive a commission if you purchase through my links, at no extra cost to you. Please read the full disclosure for more information.
Gallery wall frame size
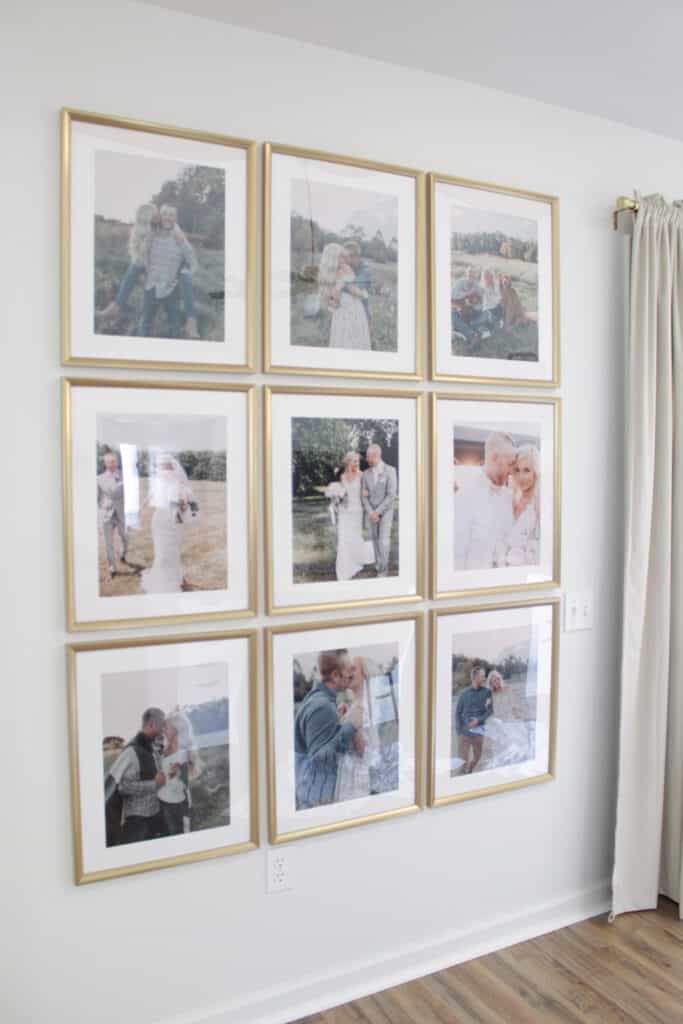
I wanted the gallery wall to take up majority of our living room wall, so I went with large frames with a mat insert. The frame size is 17″ x 21″ and the size of the opening for the picture is 11.5″ x 15.5″. I personally think that matted frames improve the look of your gallery wall because it separates the photos a little more and is less distracting to the eye.
Where to buy gallery wall frames
Ikea has super affordable picture frames that are really pretty! I bought the Silverhojden frames in gold for our living room gallery wall, and I plan on buying more to create a picture wall in our bedroom too! The cover is plastic instead of glass, which is nice because you don’t have to worry about them falling off the wall and breaking. I have another tip for keeping your frames in place below!
Where to print photos for a gallery wall
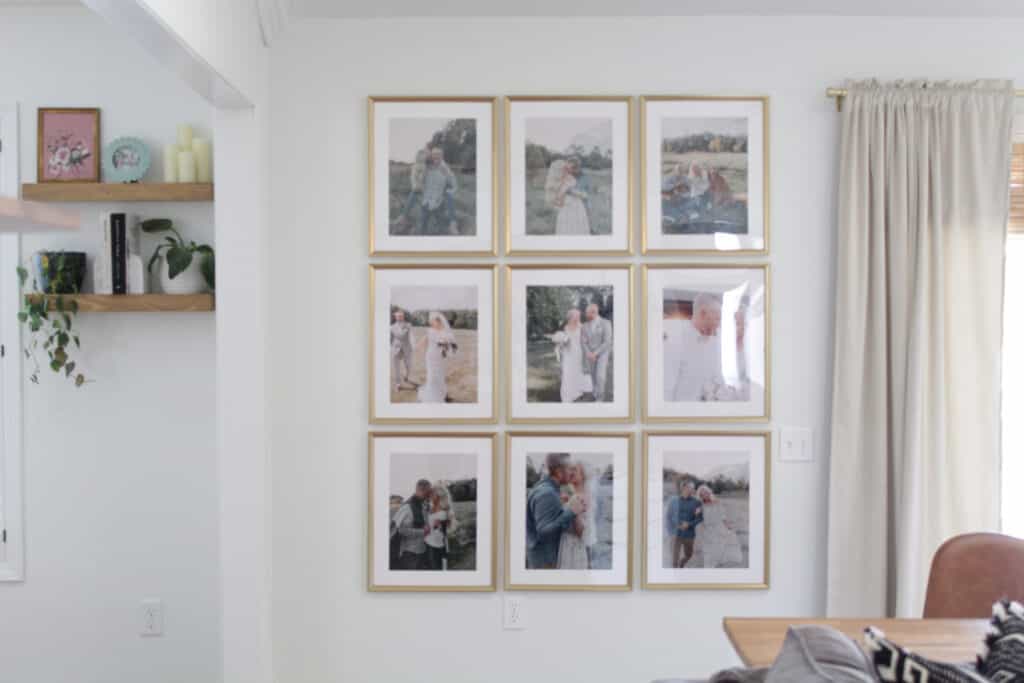
I got my photos printed from Nations Photo Lab. This was the only place I could find that allowed you to print photos in unique sizes that would fit inside of the mat of the frames. The photos I printed are slightly larger than the mat, so part of the pictures are covered but you can’t even tell. The quality of the photos is amazing too!
Gallery wall tips:
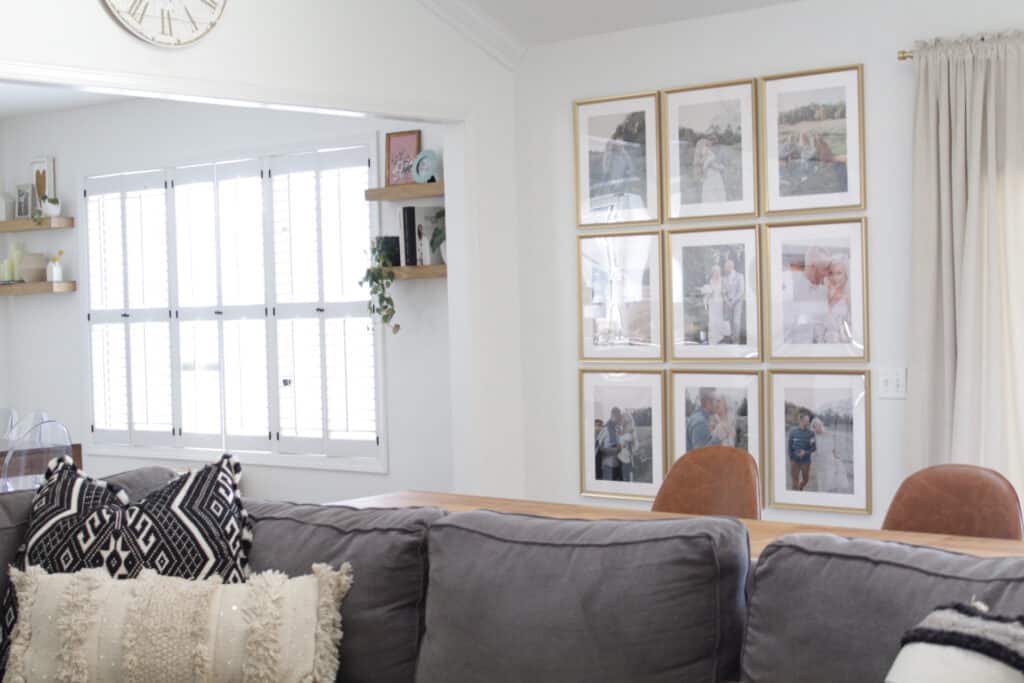
- Put the pictures in the frames and lay them out on the floor to help you determine the layout and where you want each picture to go.
- Cut out pieces of wallpaper in the size of your frames and tape them to the wall where you plan to hang them. This way you can make sure the spacing is correct before you start putting holes in your wall!
- Use a laser level to make sure that you’re hanging the frames in straight lines.
- Once your frames are level, attach a command strip or sticky putty to the bottom of the frame and press against the wall. This will keep your frames straight even if someone bumps into your gallery wall!
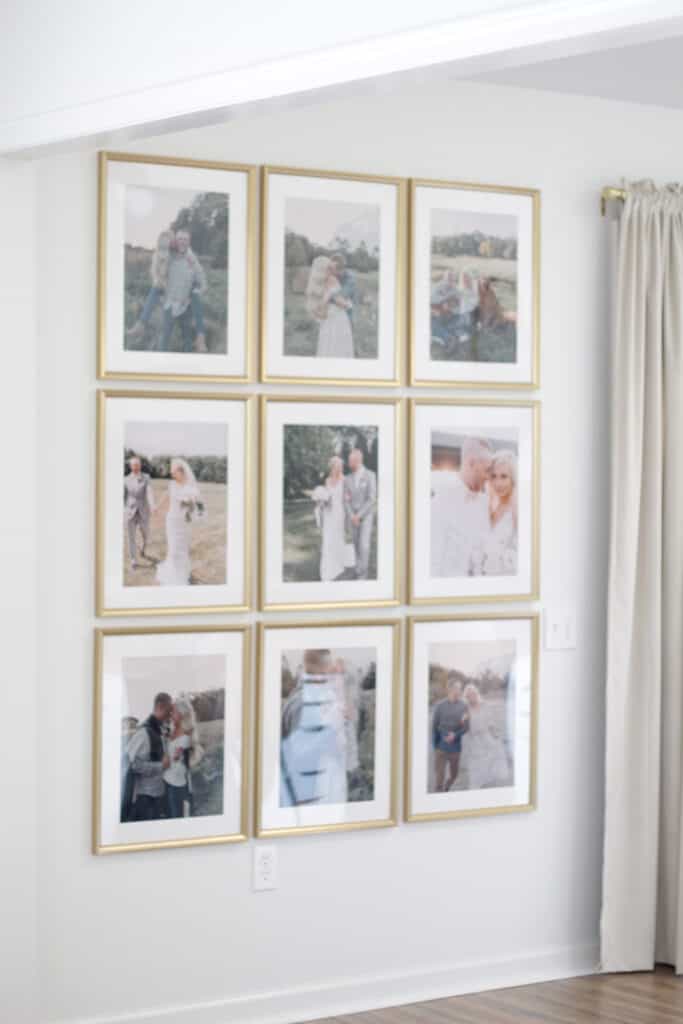
If you have any other questions about our living room gallery wall, feel free to DM me on Instagram! Thank you so much for reading!
Xo, Ciara
[rpwe limit=”3″]
