In this post I am sharing the IKEA closet hacks you need to know when designing your pax system closet! This post covers how to design your pax system, customizations you should consider, IKEA closet hacks, how long it takes to build the pax system, and cost.
This post may contain affiliate links, which means I’ll receive a commission if you purchase through my links, at no extra cost to you. Please read the full disclosure for more information.
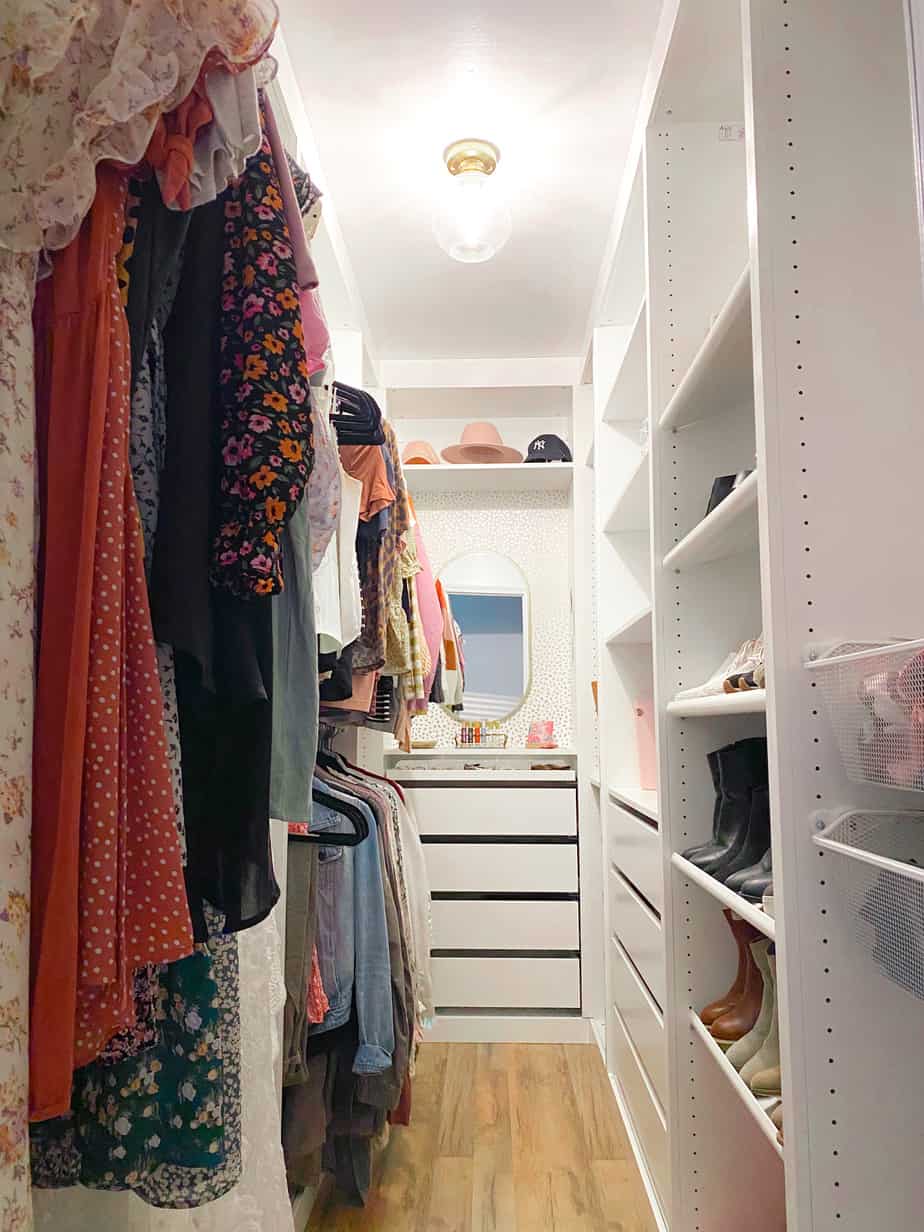
If you are looking to get a custom, built-in-looking closet I highly recommend the IKEA pax system. I chose this system because of all of the different customizations you can add using the items from IKEA's komplement line. The komplement accessories are key to these IKEA closet hacks! You have probably seen the pax system and komplement accessories all over Pinterest because they seriously make it so easy to create your own dream closet! These IKEA closet hacks will take your closet to the next level.
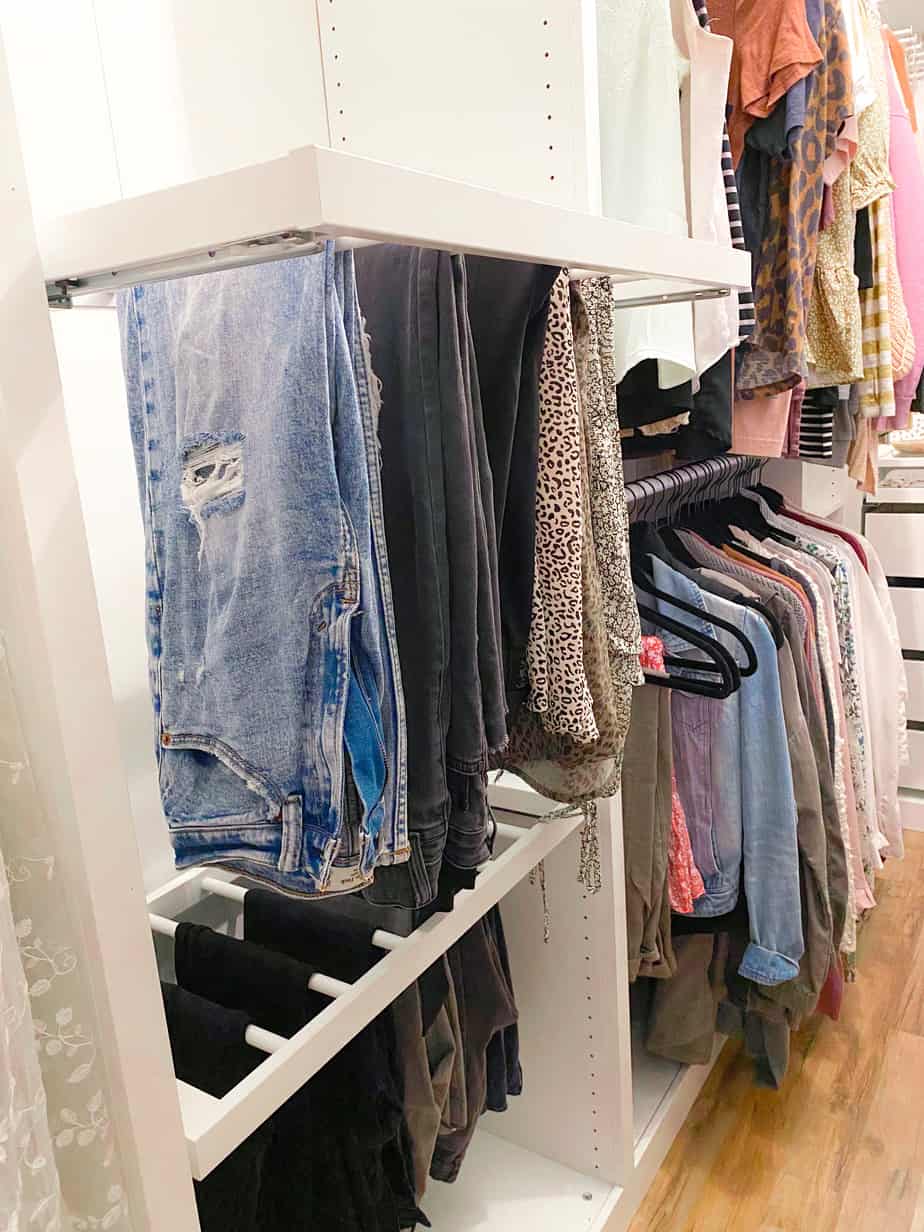
The first step to designing your custom pax system is taking a measurement of your space. You can enter the dimensions of your closet into the pax planner tool on the IKEA website. I've shared a tutorial on how to use the planner tool in this YouTube video. The tutorial begins at 5:48 if you don't have time to watch the entire video.
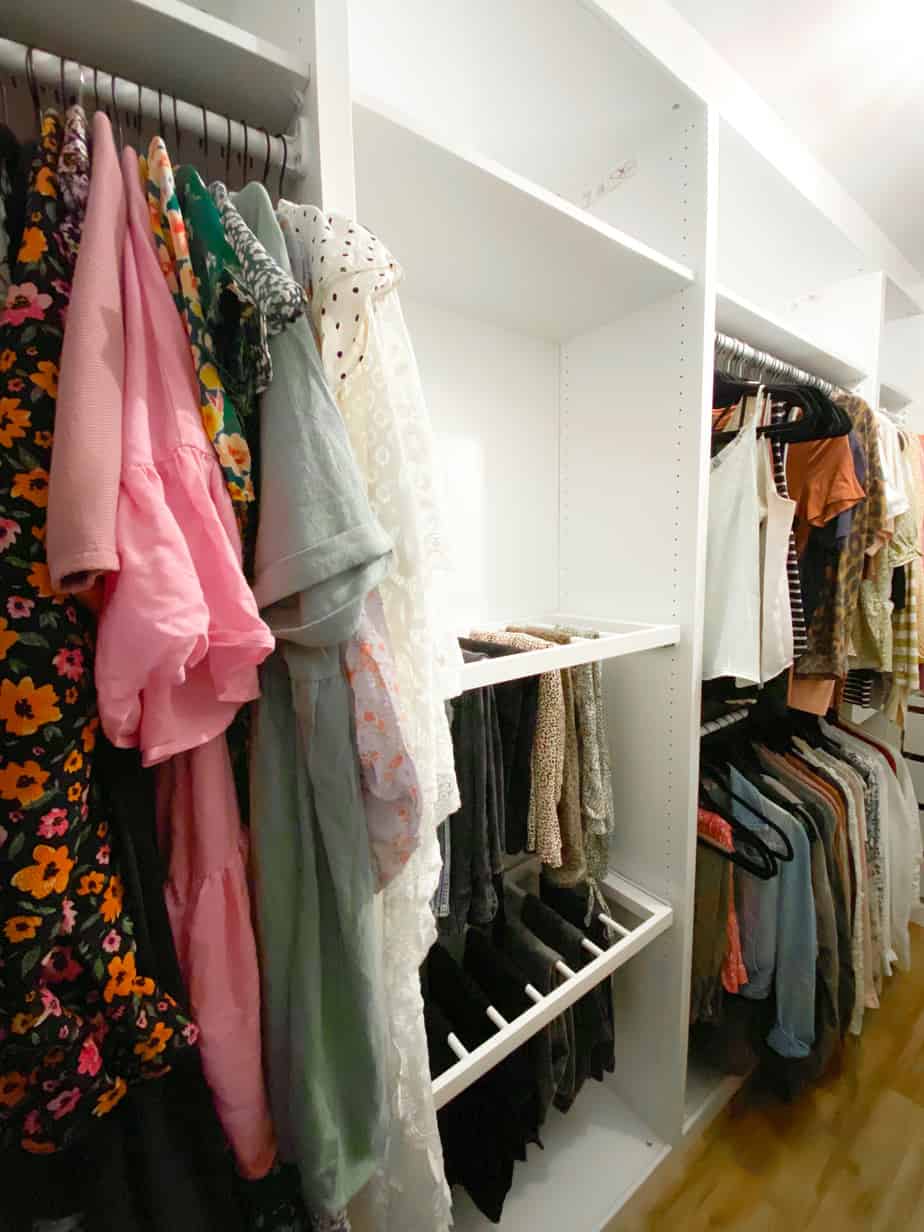
A few things to consider when designing your pax system:
Frame Depth
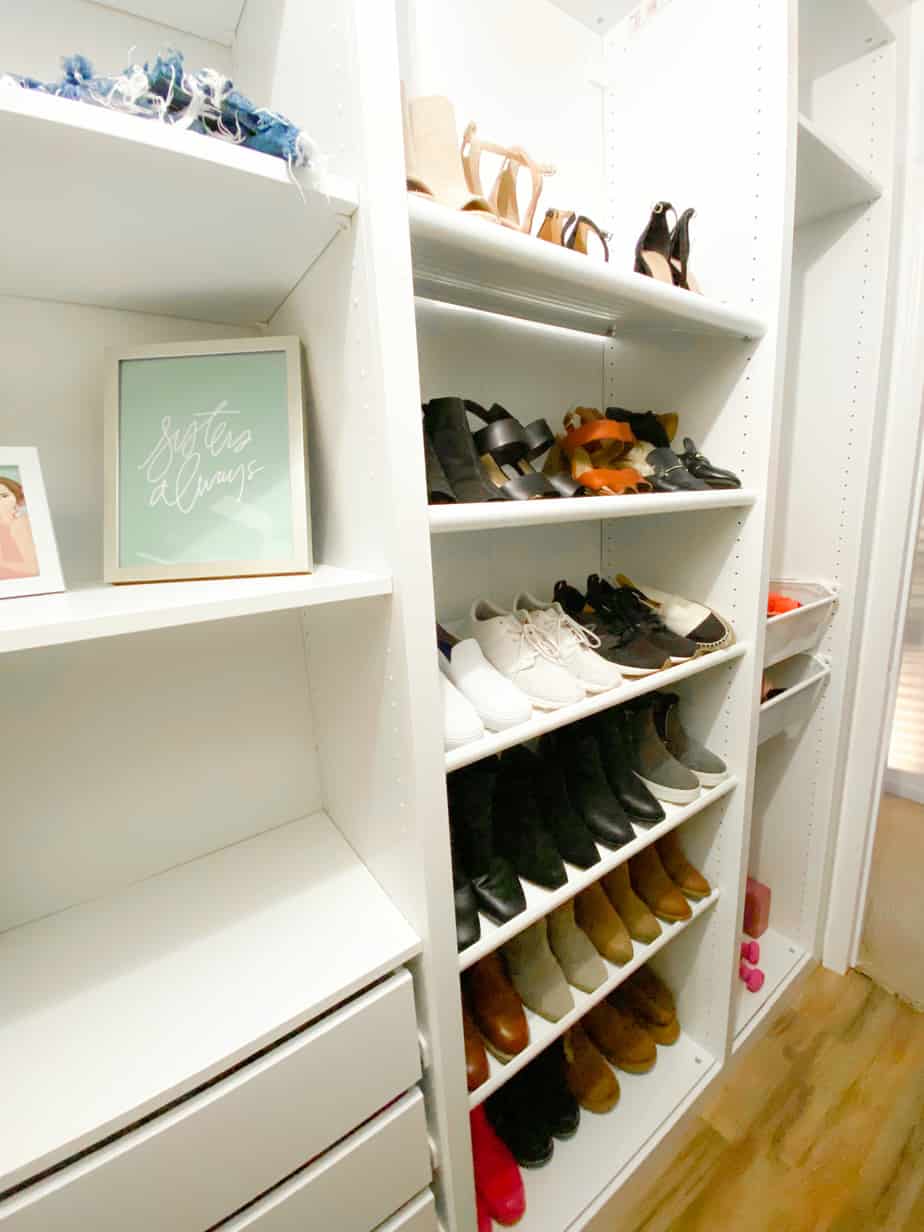
There are two sizes of the pax frame depths. The larger frames have holes to install a clothing rod in the center which allows your hangers and clothes to fit completely inside of the frame. I only had room for the thinner sized frames, so my clothes stick about halfway out of the frame. This doesn't bother me too much, but if you have clothes on both sides of your closet it might feel a bit claustrophobic.
Frame Height
This is an important part of the IKEA closet hack to achieve the built-in look. I choose the tallest frame height which was about 4 inches shorter than the ceiling. We added 4-inch trim to the top of the frames to tie it into the ceiling. This IKEA closet hack really elevates the look of your pax system and makes it look custom built.
Interiors
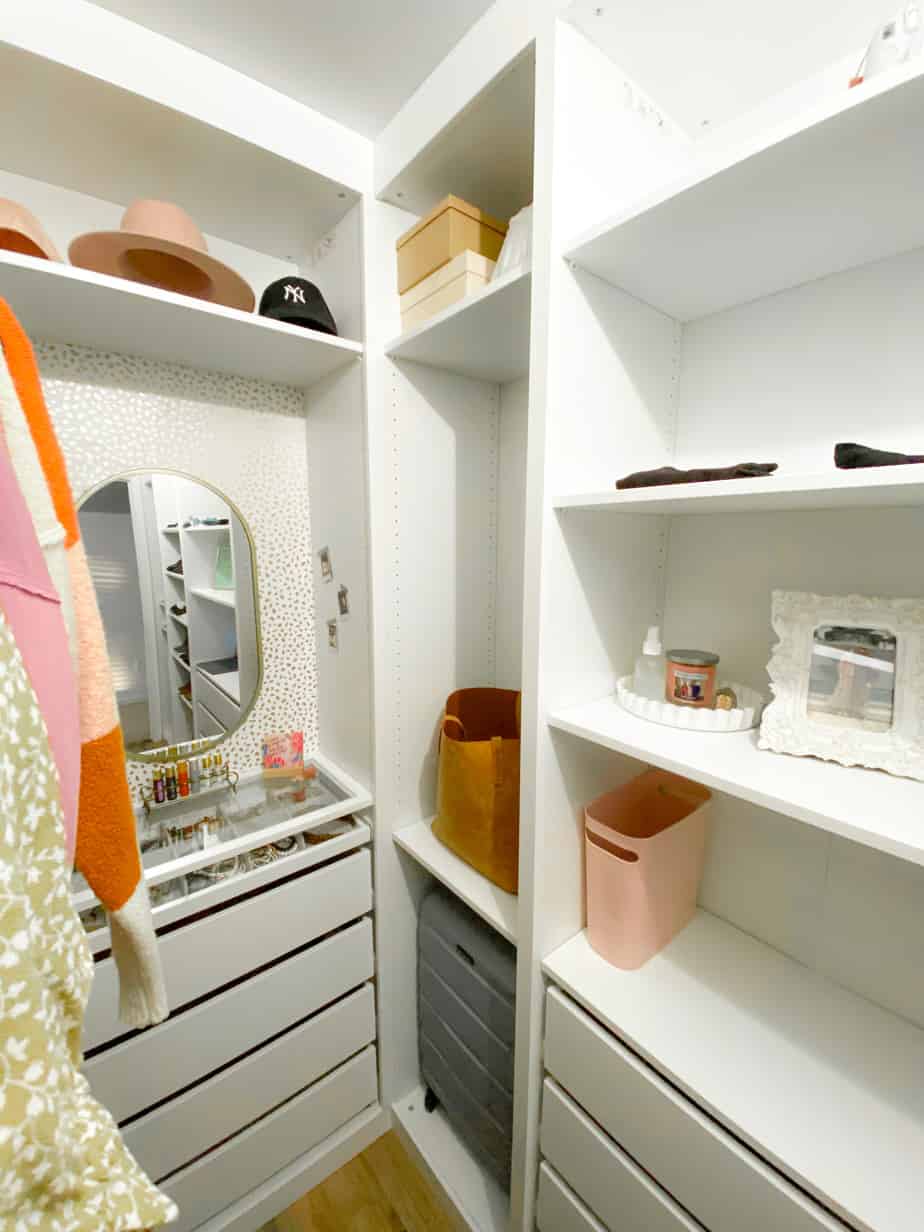
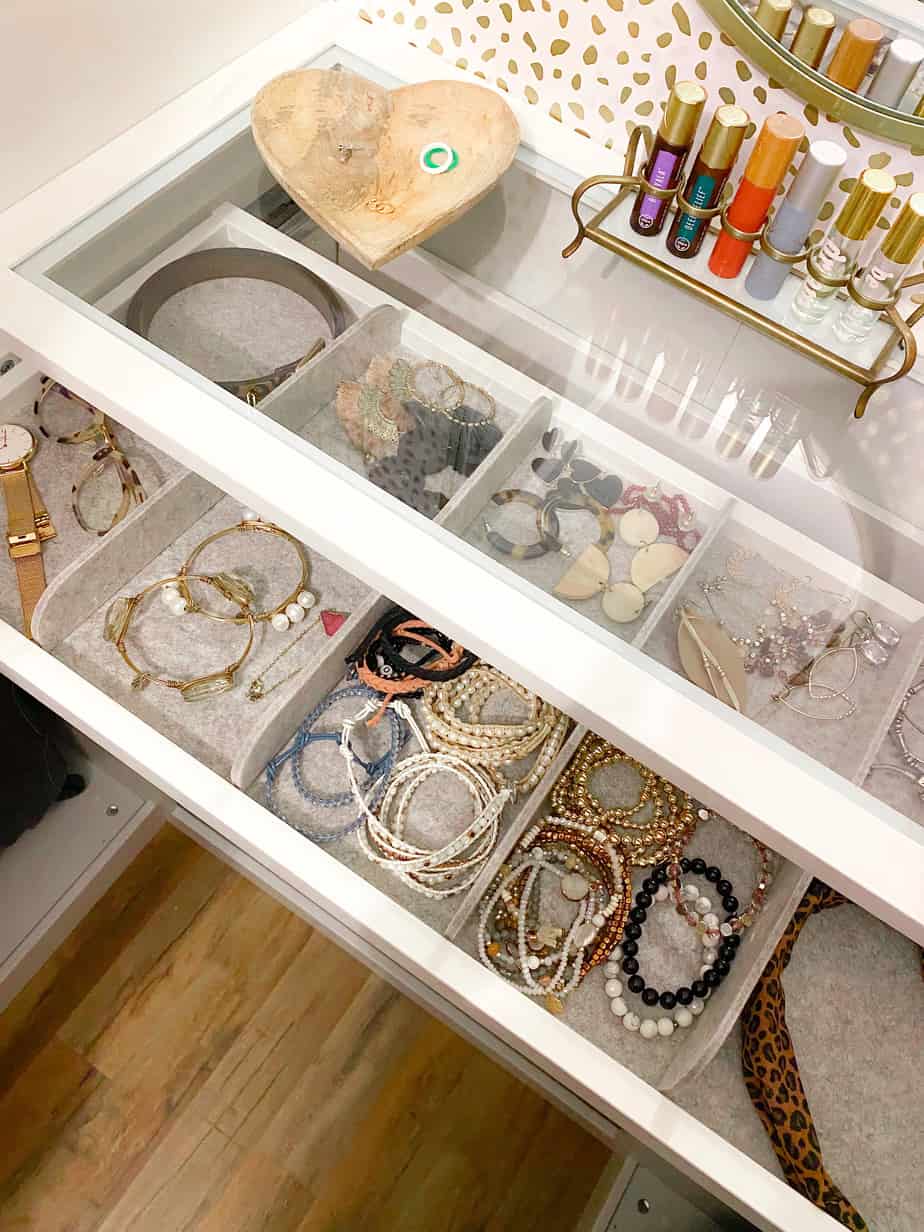
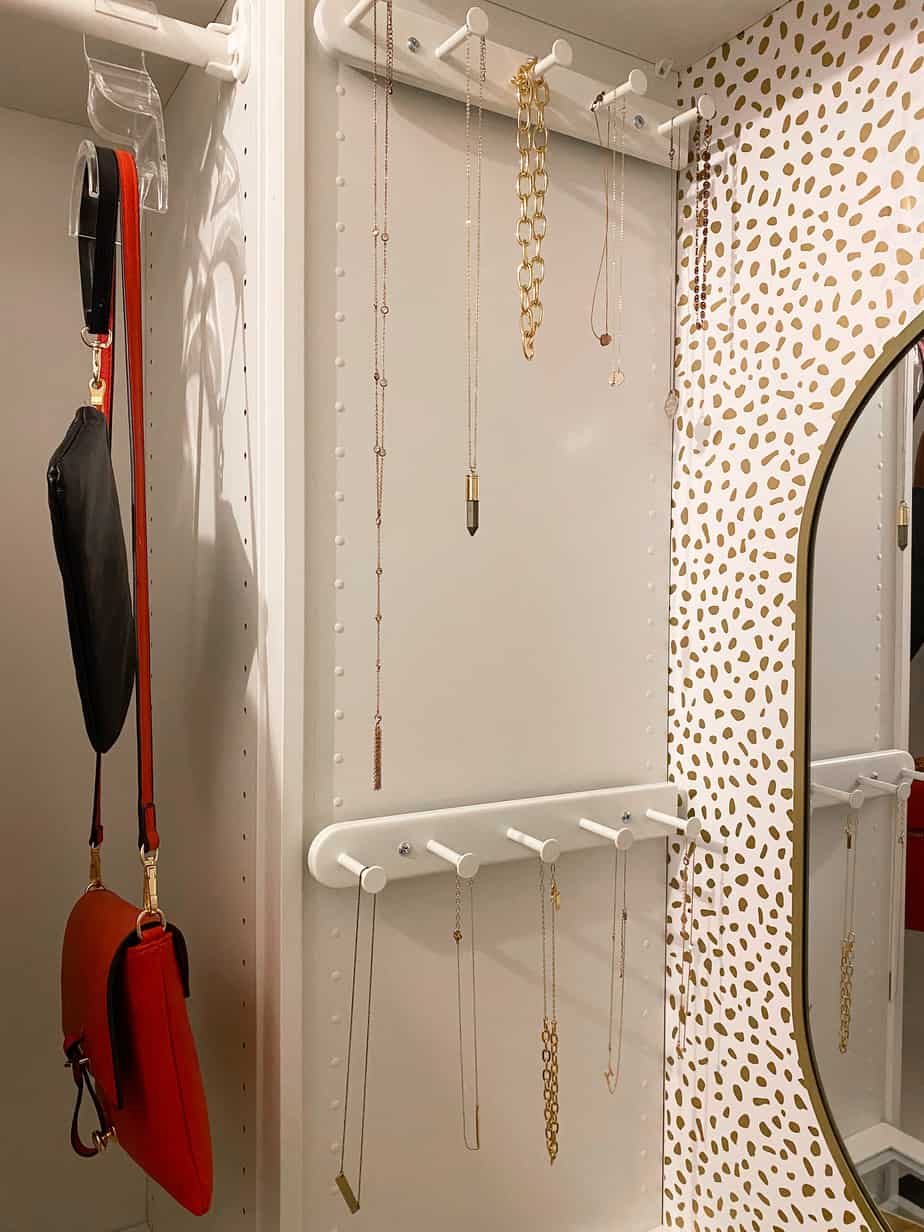
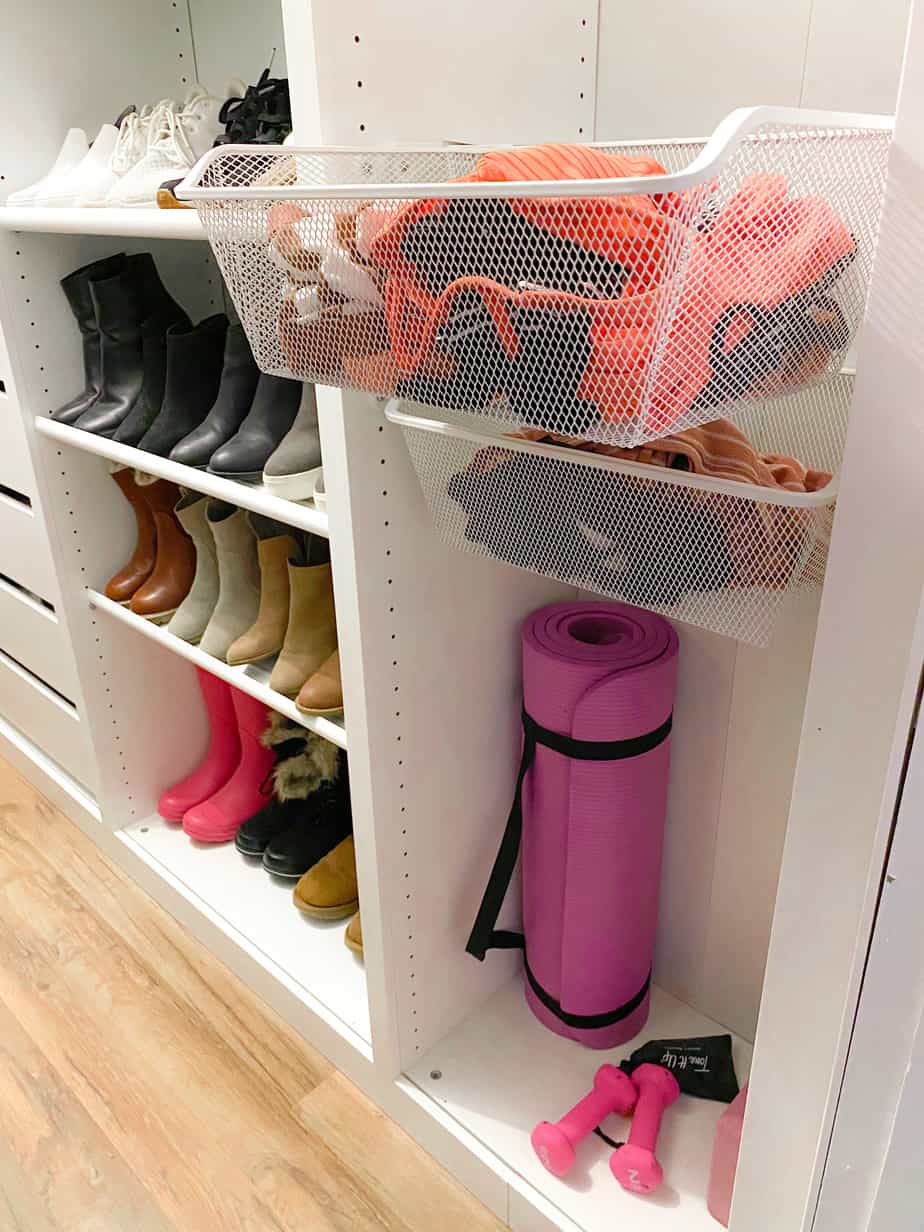
This is where you will customize and design your pax system. Within each of your frames you can add shelves, drawers, clothing rods, pull out baskets, etc. Make sure to note that there are different width sizes of the frames, and certain interiors will only fit inside of certain size frames. My favorite customization is the pull out tray with dividers that I use to organize my jewelry. The glass shelf I put above it makes it feel like I'm picking out items from a boutique! I also love the pull out hangers to hold my necklaces, tangle-free!
IKEA Closet Hacks to make your pax system look custom and built-in:
Add trim
This is the ultimate IKEA closet hack! We nailed PVC baseboard molding to the top and bottom of the frames, as well as to the fronts to seal all of the frames together. This takes your closet from looking like a basic IKEA build to a high-end, custom-built closet.
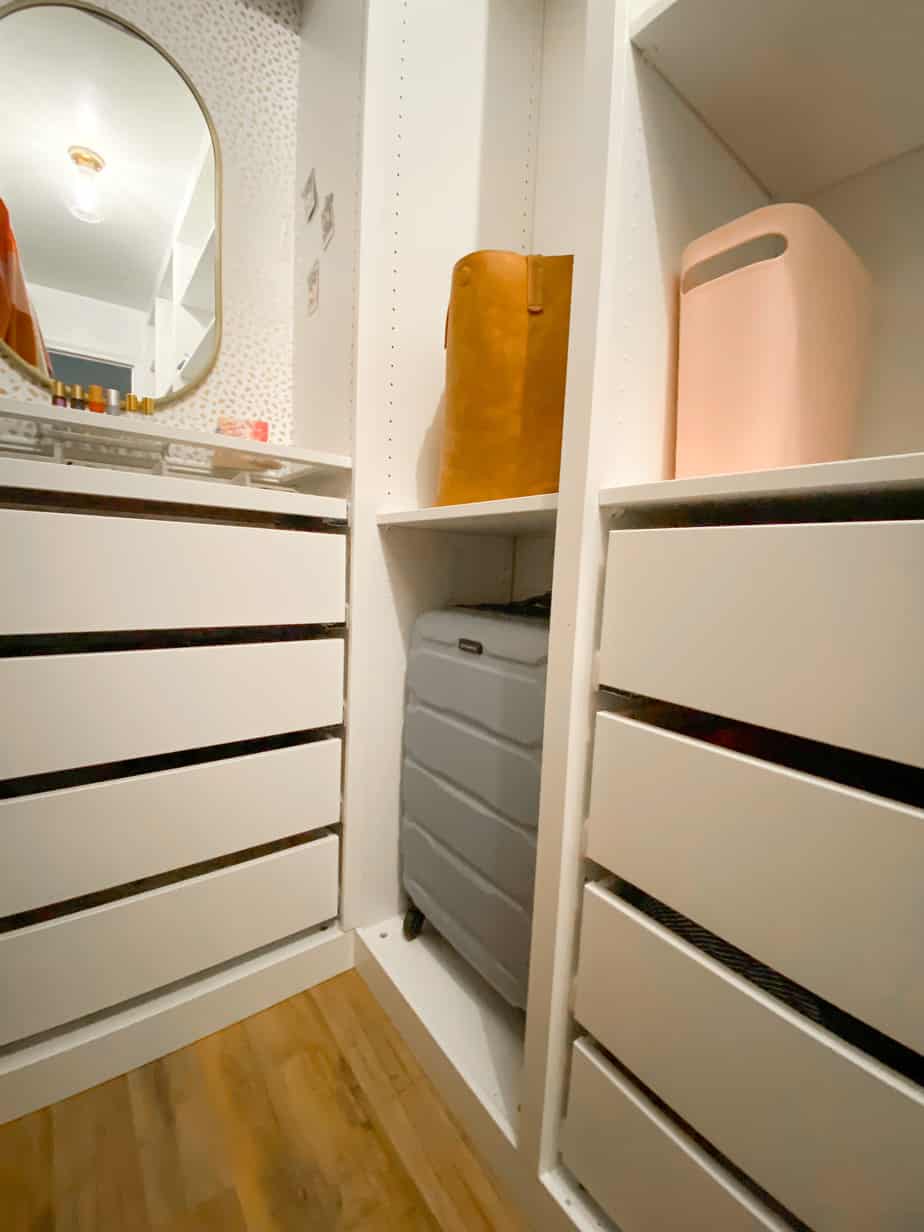
Variera cover plates
These are sold at IKEA and you absolutely need them if you build a pax system closet. These are little white plugs that insert into the unused holes of the pax system. These cover plates seriously make your closet look so much cleaner and high-end. I believe each of my frames had about 280 holes, so keep that in mind with how many packages you will need to order. I definitely underestimated how many I would need and had to order more!
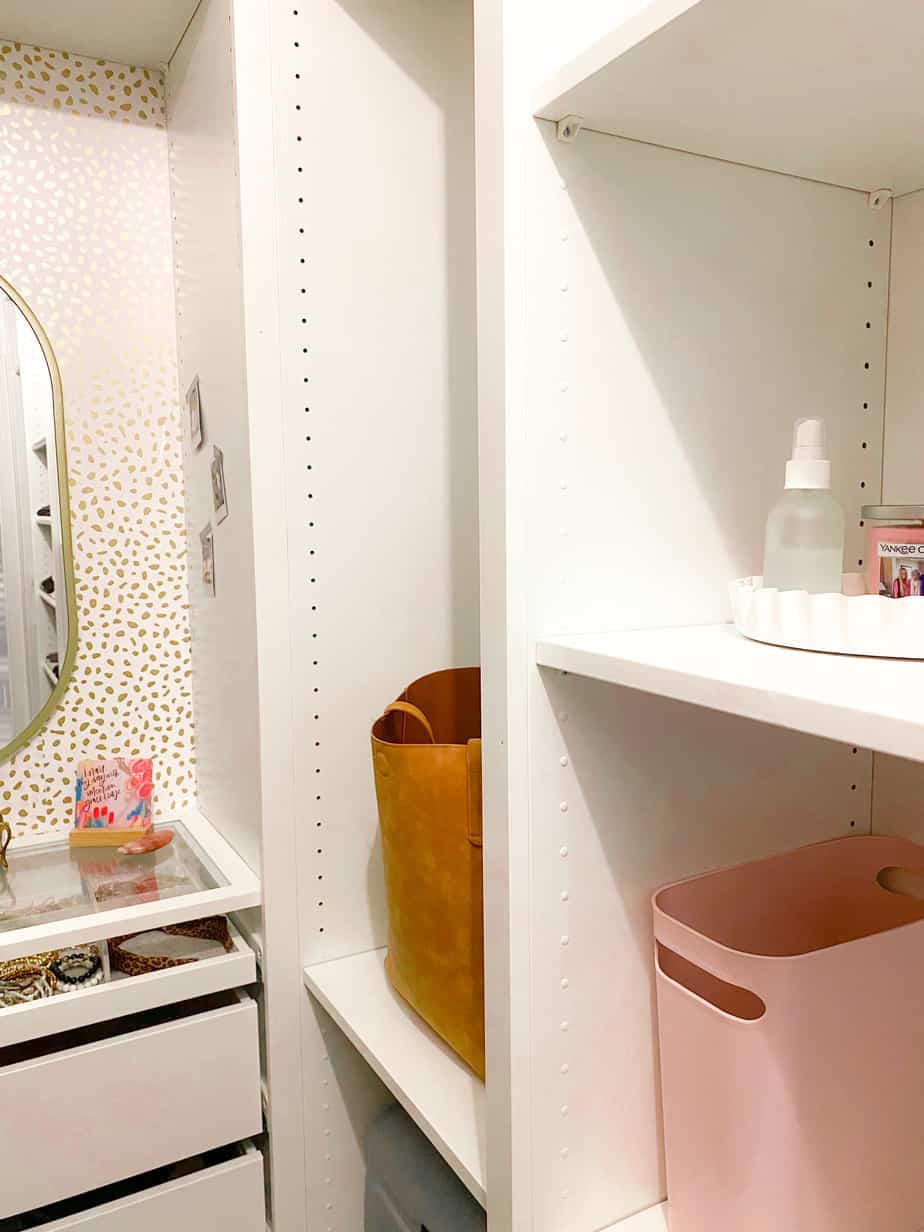
Wallpaper
Although the pax system feels very durable, the backing that you nail to the frames looks and feels very flimsy. If you want to cover this up, I recommend using peel and stick wallpaper! I think this adds a pop of fun flair to your closet.
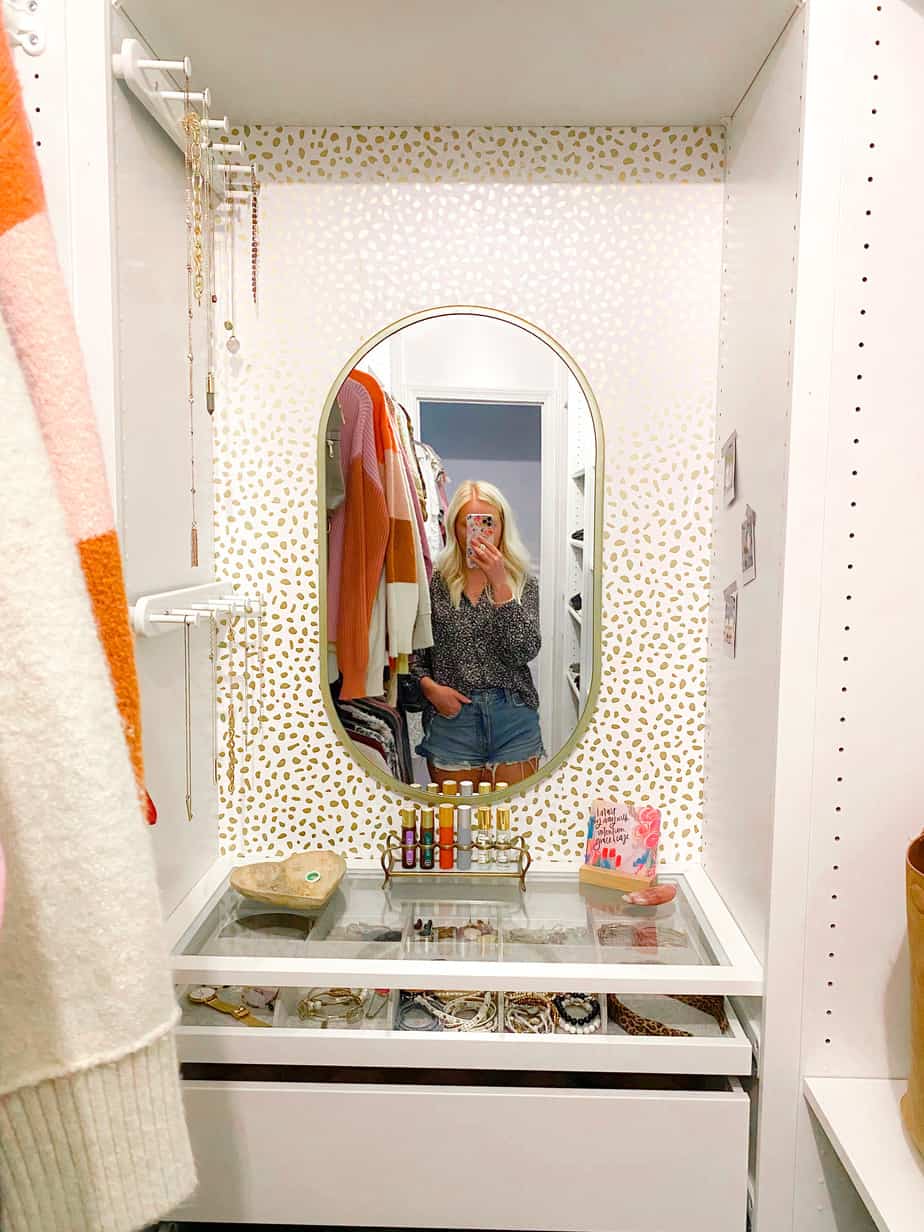
Lights
IKEA has different lighting options that you can add to your pax system closet. I didn't utilize this customization since I get pretty good lighting from the overhead light in my closet. If you're looking for a cheaper alternative, I found these rechargeable, motion detecting lights that stick to a magnetic strip that you can attach to your frames using double-sided tape. This just might be my best IKEA closet hack yet!
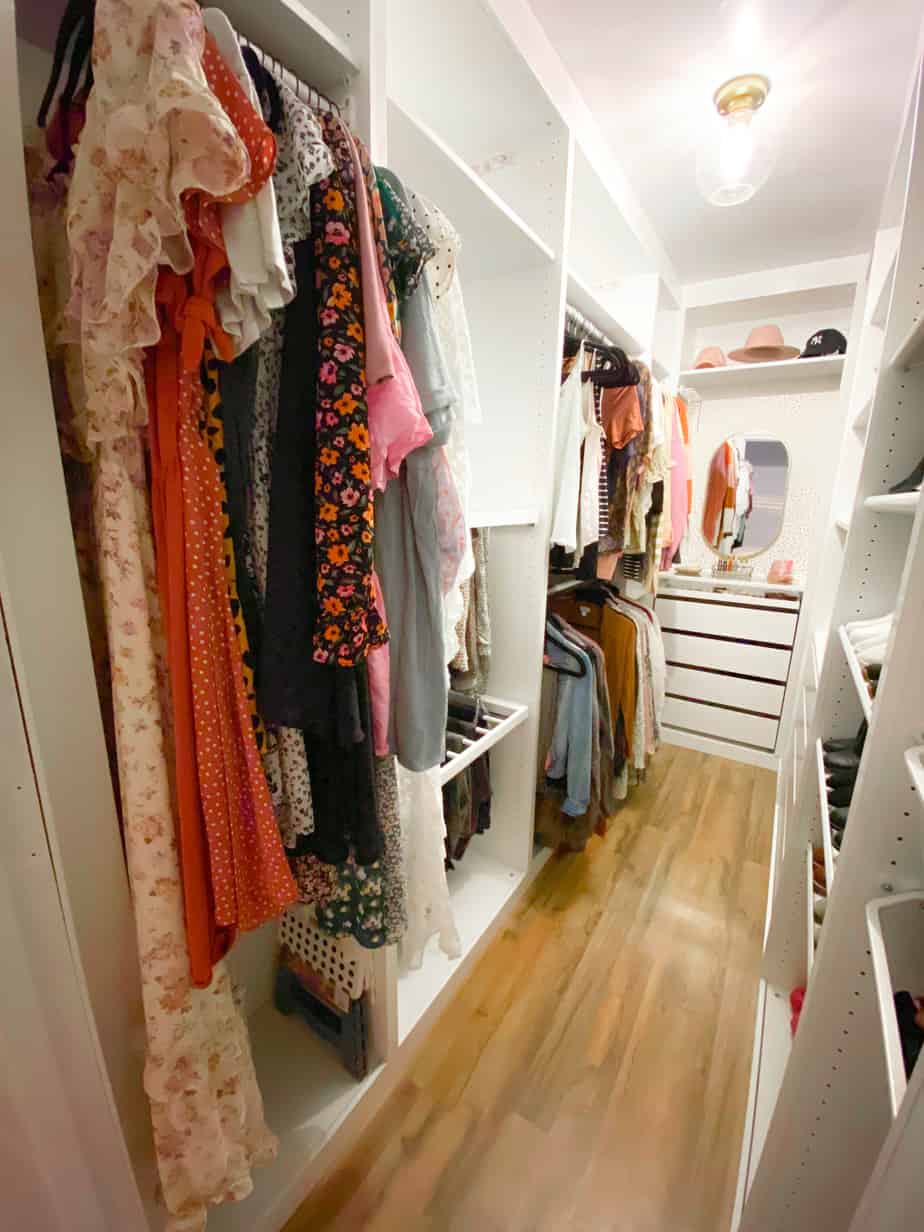
Shelves
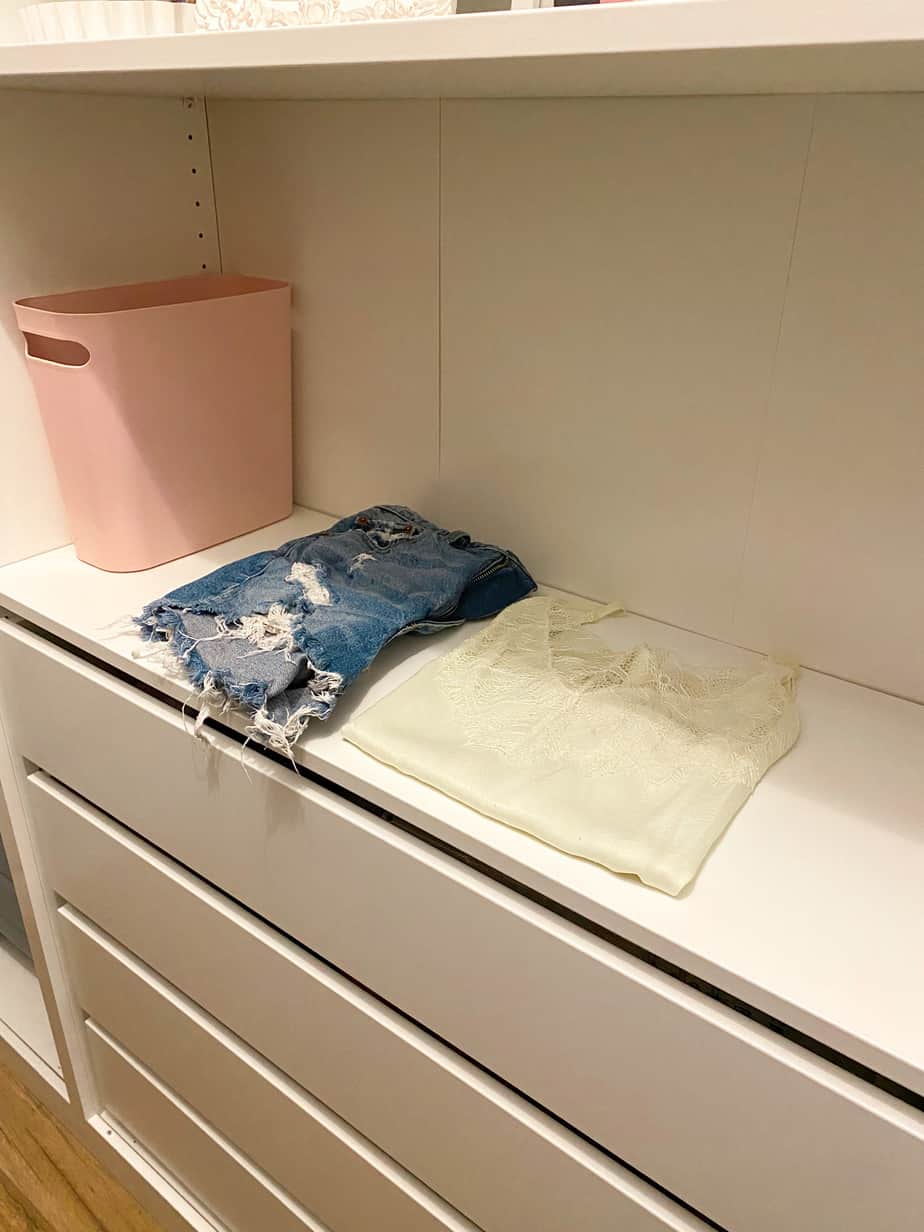
If you add any drawers to your pax system, keep in mind that you will need to add a shelf above your tallest drawer to close it off. One of my favorite IKEA closet hacks is to create a laundry folding station! I set mine up in my 36 inch wide frame above my drawers. I leave this shelf completely empty except for this cute little trash can. It's the perfect spot to throw my laundry after I remove it from the dryer and start putting it away and folding it. It's crazy how much more motivated I am to actually put my laundry away now that I have this folding station, plus I want to keep my closet as clean as possible!
So how much did it cost and how long did it take?
Cost
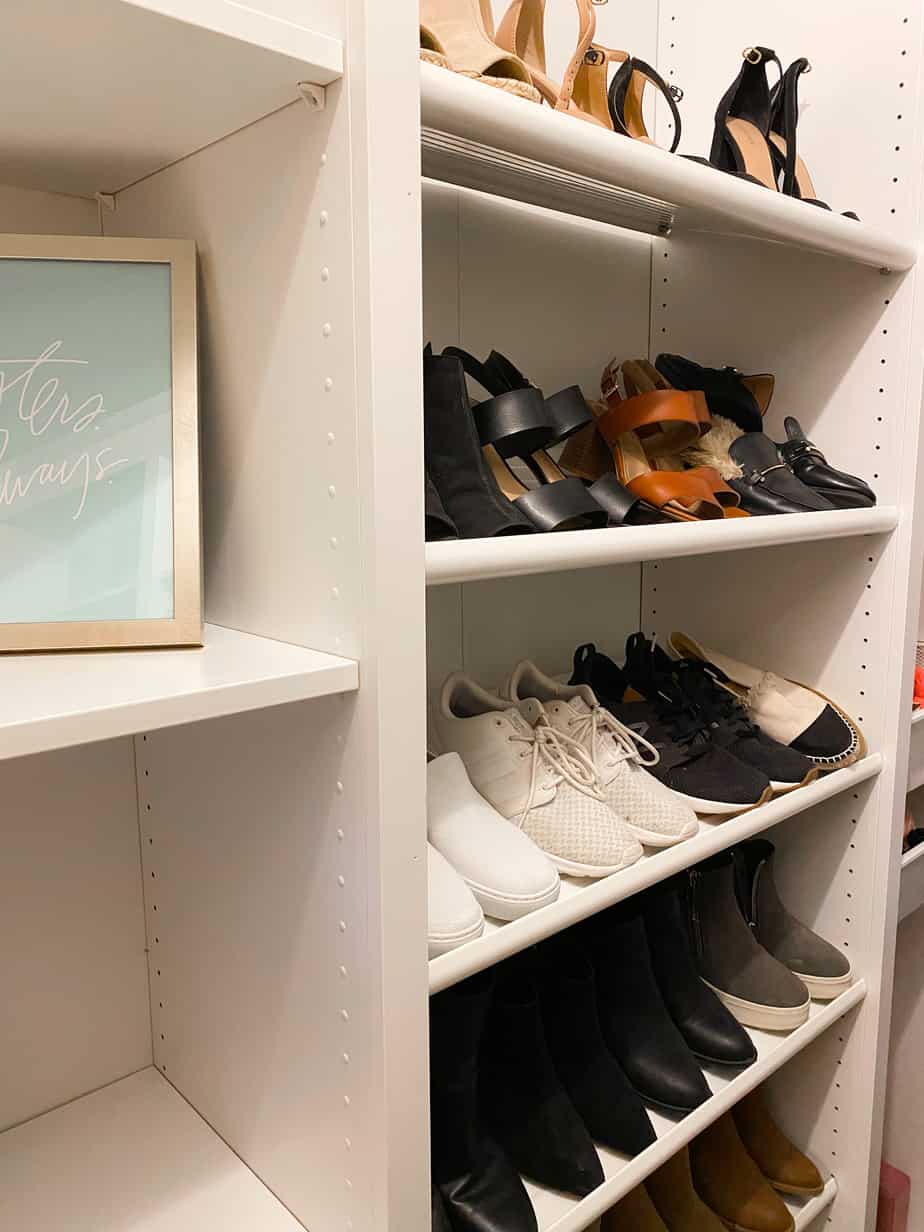
The cost of the IKEA pax system can get a bit pricey depending on the size of your closet and the customizations that you choose. I think all-in-all the cost of the IKEA pax system was about $2,000, the trim was roughly $300, and the new flooring was about $60. Every single dollar was completely worth it, in my opinion! Currently, the cost of lumber is outrageous so it probably would have cost us about the same or more to build it ourselves, plus it would have been a lot more work and we are not that skilled, LOL. I also love that I essentially have 2 dressers built-in to my closet! Both my husband and I will just stand in the closet and admire how nice look it looks haha! Our golden retriever, Harvey, likes to sleep in there too!
Time to assemble
Assembling the pax system is no joke! The frames are insanely heavy and, of course, IKEA's directions aren't the easiest to follow. Once you get the first frame built, the process of building the rest goes pretty quickly. I'd guess that it took us about a 30 minutes to build each one. I say "us" but in all honesty my husband built most of it himself. We worked on assembling the closet every night after work and added the finishing touches, like the flooring and trim, over the weekend.
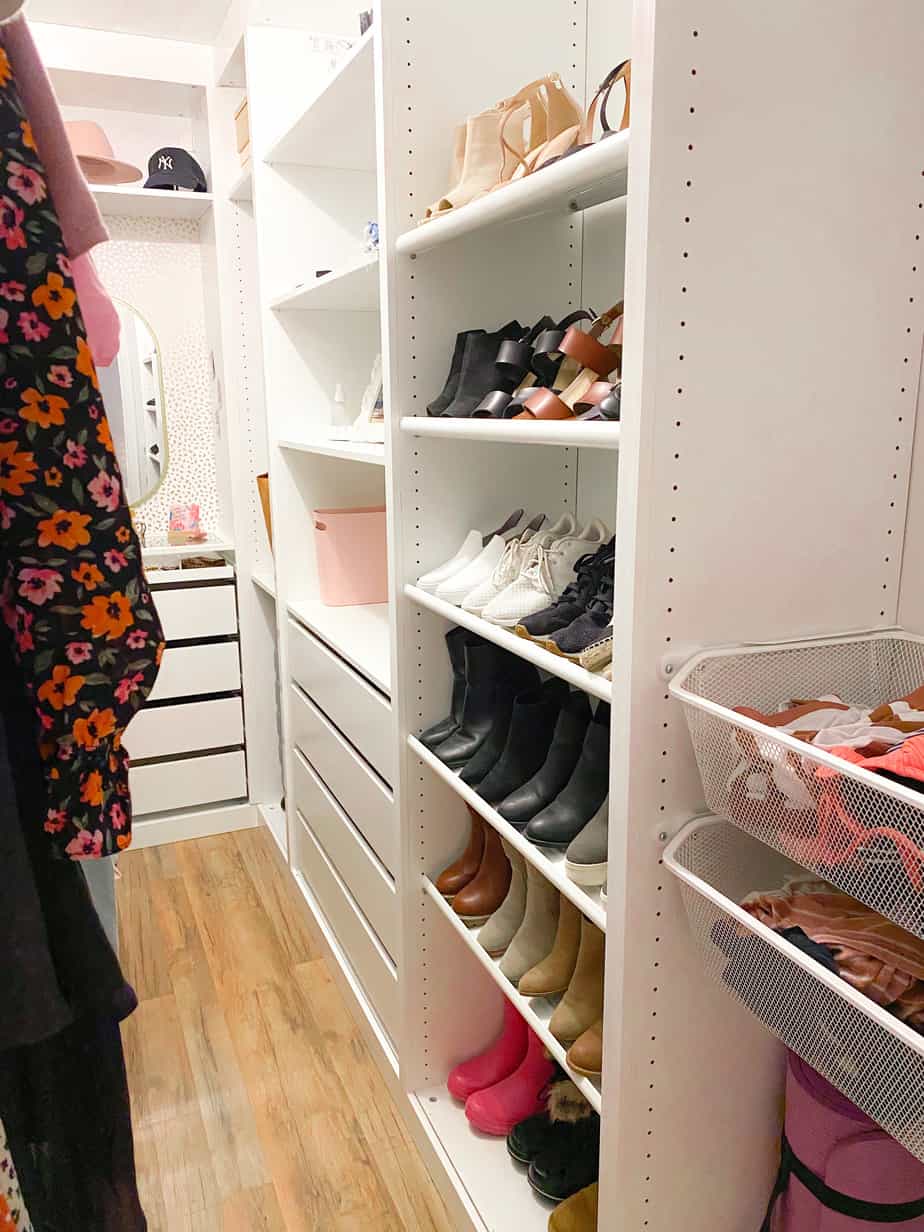
The most frustrating part about this entire process was that IKEA kept pushing back the delivery date, and then they didn't even deliver all of the pieces. It seems like it's really difficult to get items from IKEA since the pandemic, so just keep this in mind. Luckily my sisters live close to IKEA stores and were able to get a few items for me that were out-of-stock online.
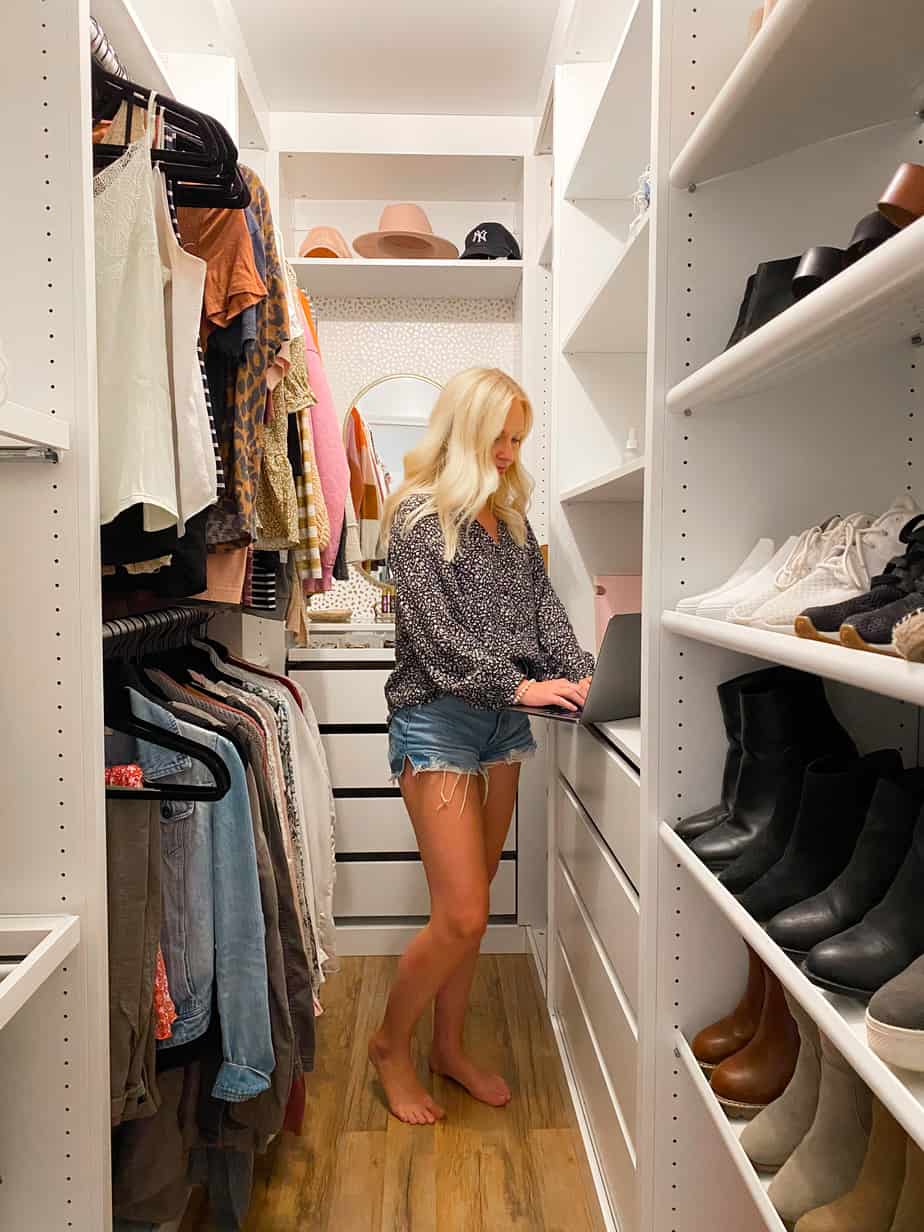
In the end, I would choose the pax system and do all of these IKEA closet hacks all over again! I actually really want to put pax systems in all of our closets because the customizations help you utilize every inch of space! I hope that this post was helpful if you're considering building your own custom closet and that these IKEA closet hacks help elevate your space. Thank you so much for reading and make sure to check out my YouTube videos on the design and building process below.

February 9, 2025
In this post I am sharing all of the details on our living room playroom! Read More
June 12, 2023
I recently gave our guest bathroom a makeover, but not just any makeover - a Read More
February 18, 2022
The wall space behind your couch can be tricky to decorate, especially if you have Read More
