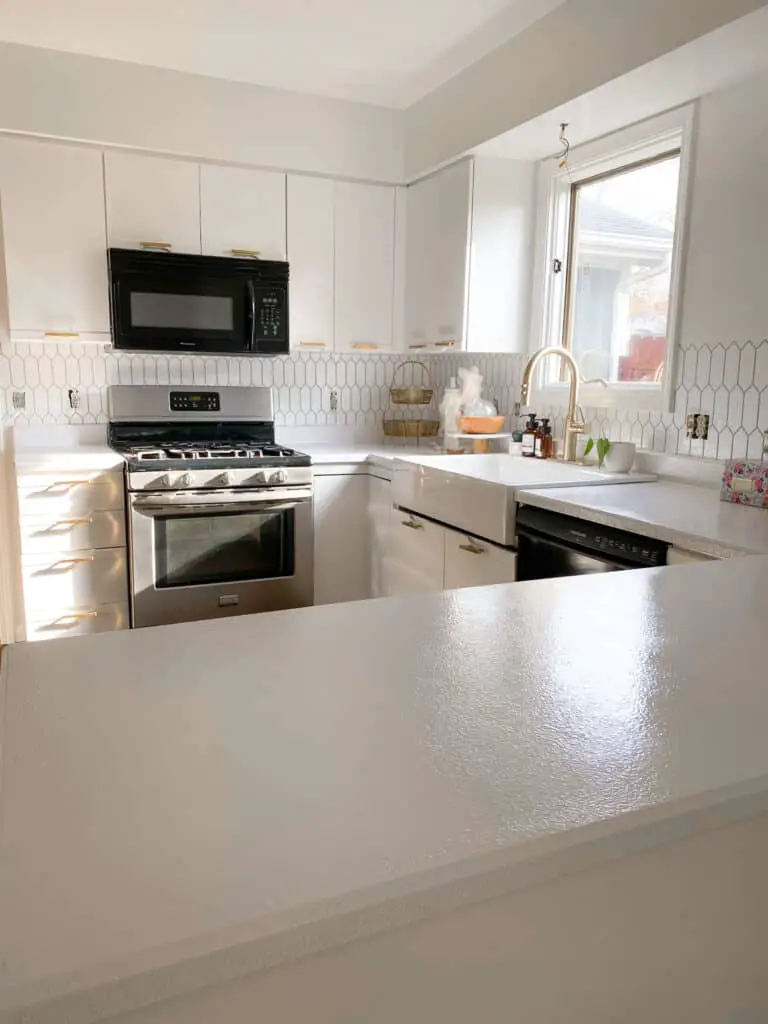
Are you looking for all of the details on how to paint kitchen countertops before taking the leap? It’s no secret that painting your countertops is an easy way to update the look of your home on a budget, but I know the idea of painting your countertops can be a little scary! This is my second time painting my countertops so I’m here to share all of my tips and tricks on how to paint kitchen countertops. The best part about this DIY project is that you can do it for less than $20 and it makes a huge impact! In this post you will learn my step-by-step guide on how to paint kitchen countertops.

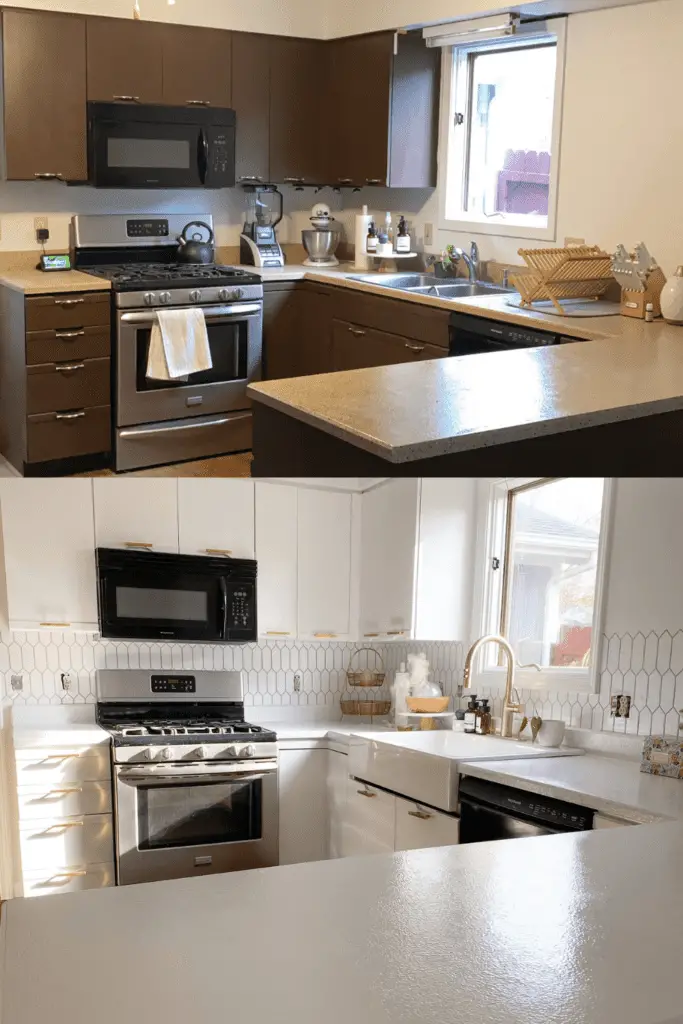
As I mentioned above, this is the second time I have painted the counters in my home. In our first house I painted our bathroom countertops and I just recently painted the kitchen countertops in our current home. I used two different methods of painting for each of these projects and here are the before and after photos of each.

This post may contain affiliate links, which means I’ll receive a commission if you purchase through my links, at no extra cost to you. Please read the full disclosure for more information.

To paint our bathroom countertop I used a textured spray paint and a clear epoxy coat. This method is EXTREMELY messy! You will need to tape off and cover everything around the area you are painting. The downsides to using spray paint is that little speckles of paint will get EVERYWHERE and you will likely have to use several cans of spray paint depending on the surface area of your project. The plus side of using spray paint is that you don’t have to worry about brush strokes or roller marks, and it’s easier to get in small spaces like corners and behind the faucet. After covering the counter with spray paint, I used a pour over epoxy to seal it and get a glossy finish. I honestly would not recommend this method because of how messy it is, and you need to work very quickly. When you pour the epoxy over your counter it will start spreading and dripping everywhere. You will need to spread the epoxy evenly and use a blow torch to get rid of any bubbles. I will say that it looked amazing when it was finished and held up really nicely for a year until we sold our house (I’m not sure how well it kept up after we moved). The only issue I had was a small indentation from leaving my hot curling iron sitting on the counter for too long.

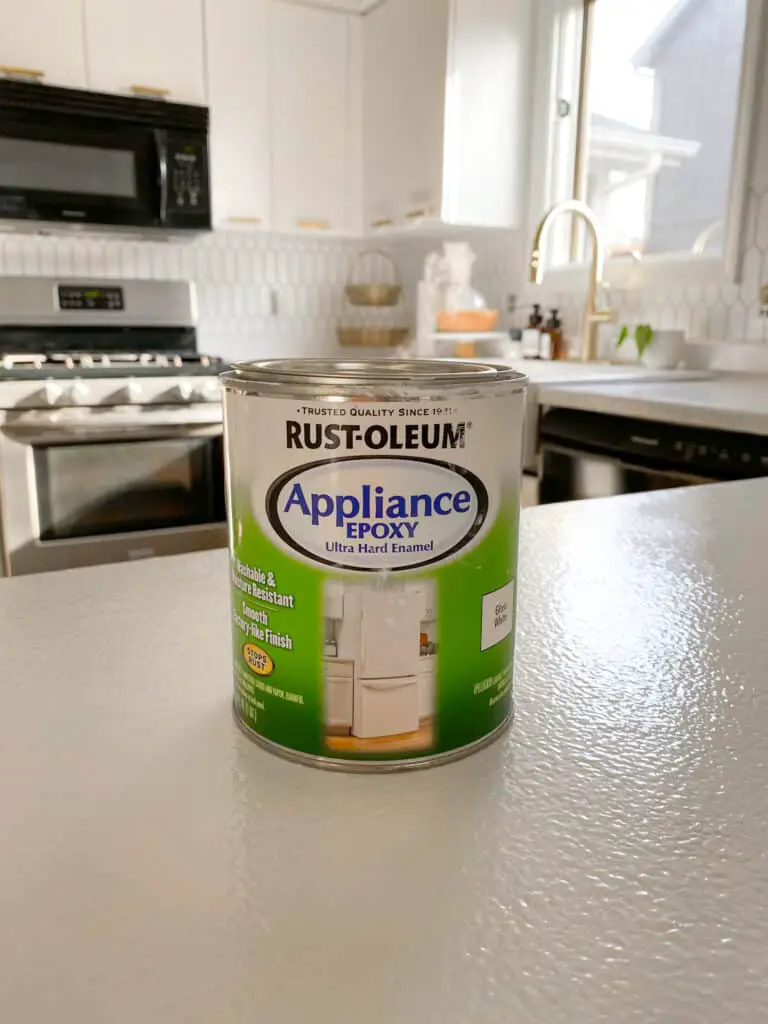
When I decided to paint our kitchen counters, I knew I needed to find an easier way than the method I used for our bathroom counters. I saw on Pinterest that some people had used this appliance epoxy paint and I decided to give it a try. Our counters had already been painted by the previous owners and I absolutely hated them, so I figured I couldn’t make them look any worse even if I messed up! I am so happy with how our kitchen counters turned out, but if I were doing this project all over again I would do it a little differently.
Below you will learn exactly how I painted my kitchen counters, what I would have done differently, and my recommendations.
Before heading to your local Lowes or Home Depot store, check online to see if they have this appliance epoxy paint in stock. When I talked to the employee at the paint counter, she told me it’s really hard to get this product in stock and when they do it sells out right away. Apparently there is also a paint shortage currently, so that makes it even more difficult to get ahold of this product. I was able to order a quart of the appliance epoxy on amazon and was happy to see it was less than $20 and available for next day delivery! One can was enough to paint the counters in my kitchen, but I plan on buying another can to keep on hand for touch ups.
Before applying the epoxy paint, give your counter tops a gentle sanding. We recently purchased this cordless hand sander and I love how well it collects the dust and how easily the velcro sanding sheets attach to it. It’s not very heavy so it’s perfect for all of my DIY projects. After you sand the counters, make sure to thoroughly wipe them down with cleaner. I think I missed a few spots when wiping my counters down because there were a couple places where the paint didn’t stick as well and took a couple extra coats of paint.
Use a high density foam roller to apply the epoxy paint to your counters. You will also need a brush to get in the corners. I recommend rolling on the epoxy paint in the same direction for the first coat. Apply the second coat within 30 minutes and roll on the epoxy paint in the opposite direction. You will see lines and bubbles from the roller but don’t worry, this will go away with additional coats. After the first two coats, I recommend letting the paint dry for at least an hour before applying a third coat. The paint goes on sort of sticky / tacky so I found that if you applied the coats too close together it would pull off paint from the previous coat. Let the third coat dry for a few hours (I waited until the next day) before applying the fourth coat. The fourth coat will likely be your final coat, but I had to apply a fifth coat just to a few spots where the paint wasn’t sticking very well.
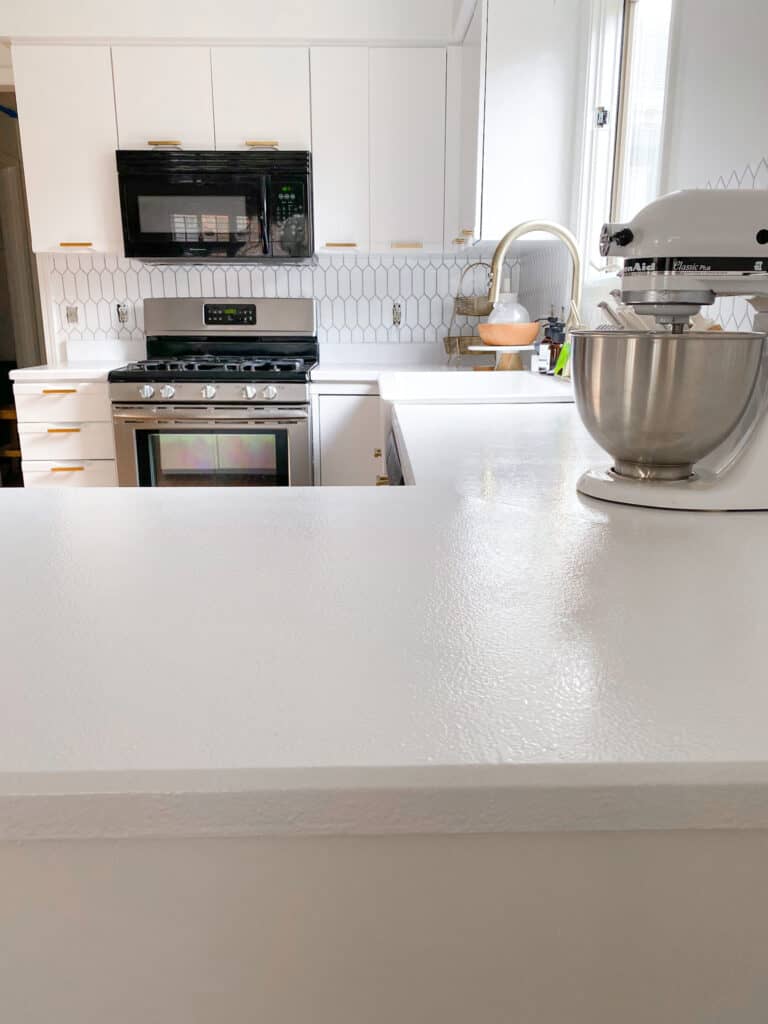
It’s important to wait at least 24 hours before setting anything on your counters because you will get permanent indentations if the paint isn’t fully cured. I waited 48 hours before placing anything really heavy on the counters such as our kitchen aid mixer. I did get a tiny scratch on the counter already so I’m really interested to see how well they hold up. Like I mentioned earlier, I plan on keeping an extra can of paint on hand for touch ups. Since this project only cost around $20 I can’t really complain if I have to touch it up here and there! I plan on purchasing a few more hot pads since I assume I’ll have to be careful not to place any hot pans directly on the counters. I’ve been wiping the counters down with thieves household cleaner daily and so far that doesn’t seem to be causing any damage to the paint.

I hope this post on how to paint kitchen countertops was helpful and you feel prepared to take on this project! I am completely in love with how it turned out and recommend it to anyone who is looking for an easy, budget friendly way to update their kitchen. I will make sure to report back on how well our painted kitchen counters hold up!
To see the behind the scenes of this project and to keep up with the rest of our kitchen makeover, make sure to follow me over on Instagram!
Thank you so much for reading and supporting my blog!

Other posts you might like:

