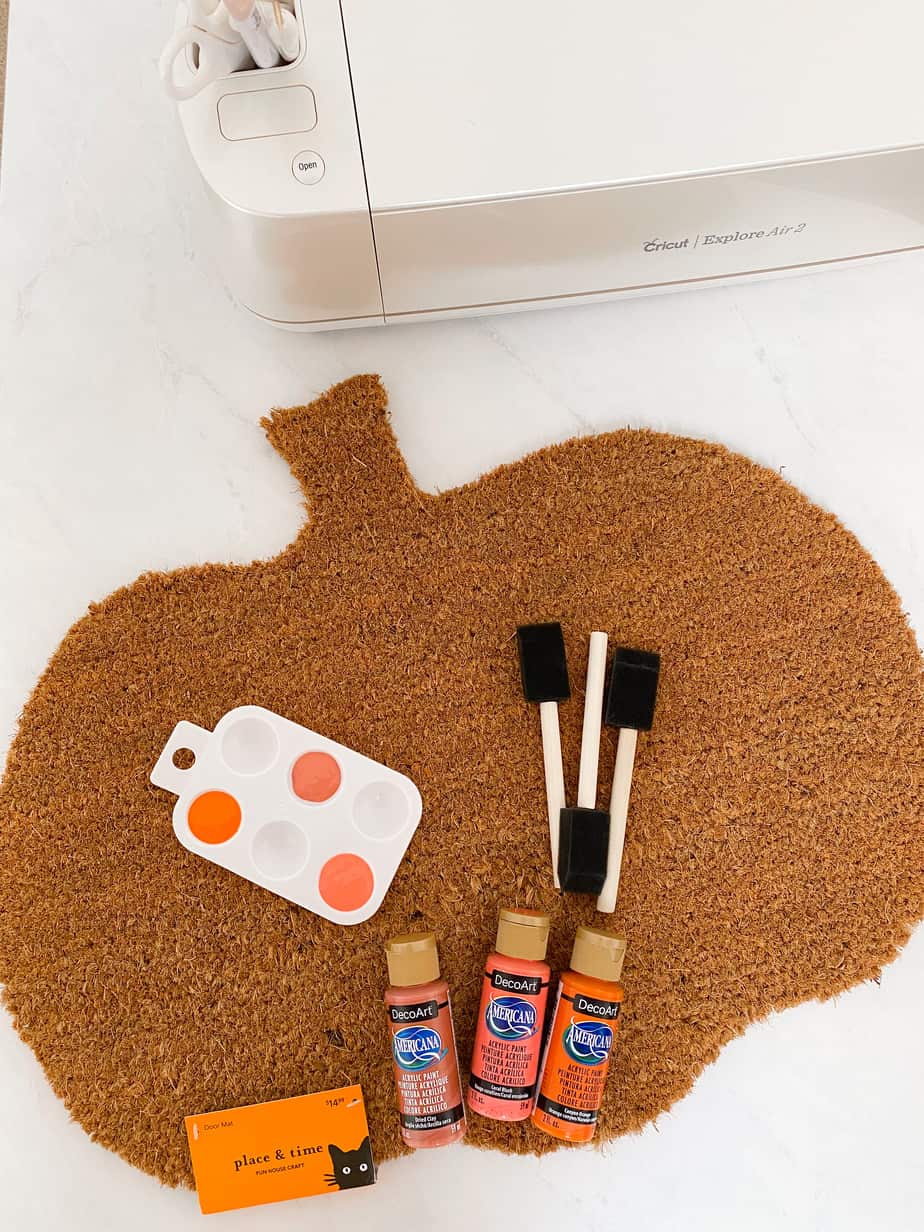
Each season I like to switch up my front door decor and make my own DIY doormat. I use the Cricut Explore Air 2 to create my own designs, but I’ve also painted over an existing doormat if I didn’t like the colors. In this post I am sharing how to make a DIY doormat. You will learn how to find unique fonts, how to personalize your own stencil in Cricut design space, and tips for painting a DIY doormat.

This post may contain affiliate links, which means I’ll receive a commission if you purchase through my links, at no extra cost to you. Please read the full disclosure for more information.
Supplies:
Blank coir mat
I have purchased these from Target and Joanne Fabrics. I’ve also seen them at Hobby Lobby too.
Paint
Since our front door is covered, my doormats usually stay pretty dry and I’ve never had any issue with using regular craft paint. However, it’s recommended to use outdoor acrylic paint.
Paint brush or foam brush
I’ve used both but I’ve realized that it’s easier to get between the fibers with a paint brush!
Vinyl
This is what you’ll use to create your stencil.
Cricut Explore Air 2
This is the machine that I have but they have come out with several other models since I purchased mine that I’m sure would work to make a doormat stencil too!

How to Make a DIY doormat
Step 1: Create the design
I create my designs using the Cricut design space software. I like to download free fonts from dafont.com.
Step 2: Measure your mat and set dimensions
Make sure to measure your mat so you can resize your design to the appropriate dimensions.
Step 3: Cut stencil and weed out letters
Set your Cricut machine to the vinyl setting to cut your stencil. I use this tool to weed out the letters from the design. Make sure to only weed out the areas of the stencil that you plan to paint!
Step 4: Apply stencil to mat
This part can be a little tricky. You can use pins to help keep your vinyl stencil in place, especially the smaller pieces that will go inside of letters such such as “P”.
Step 5: Paint
You will likely need to paint over your stencil a few times depending on how pigmented your paint is and the type of brush that you use.
Step 6: Peel of stencil
Let dry and carefully pull of the stencil!
If after reading this post you decided against making your own DIY doormat, here a some handmade doormats available for purchase! This way you can still get a unique, custom doormat and help support a creator!
Thank you so much for reading and supporting my blog! Tag me in a photo of your DIY doormat on Instagram if you decide to make one! I would love to see!
Xo, Ciara
If you enjoyed this post, make sure to check out my front door transformation next!

