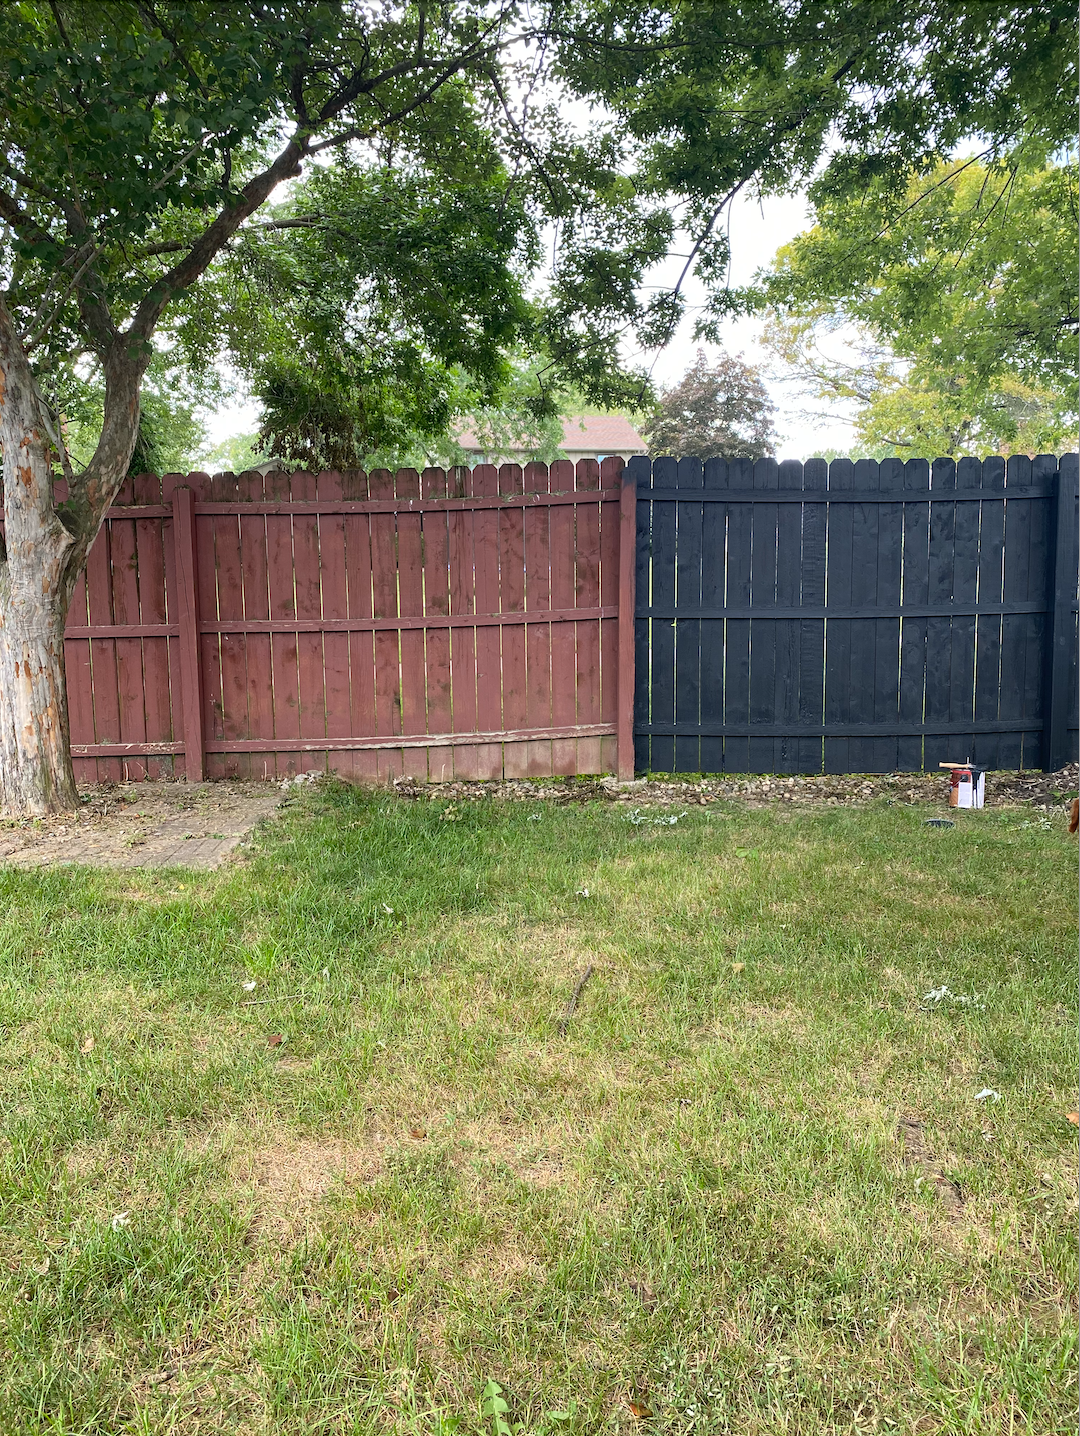
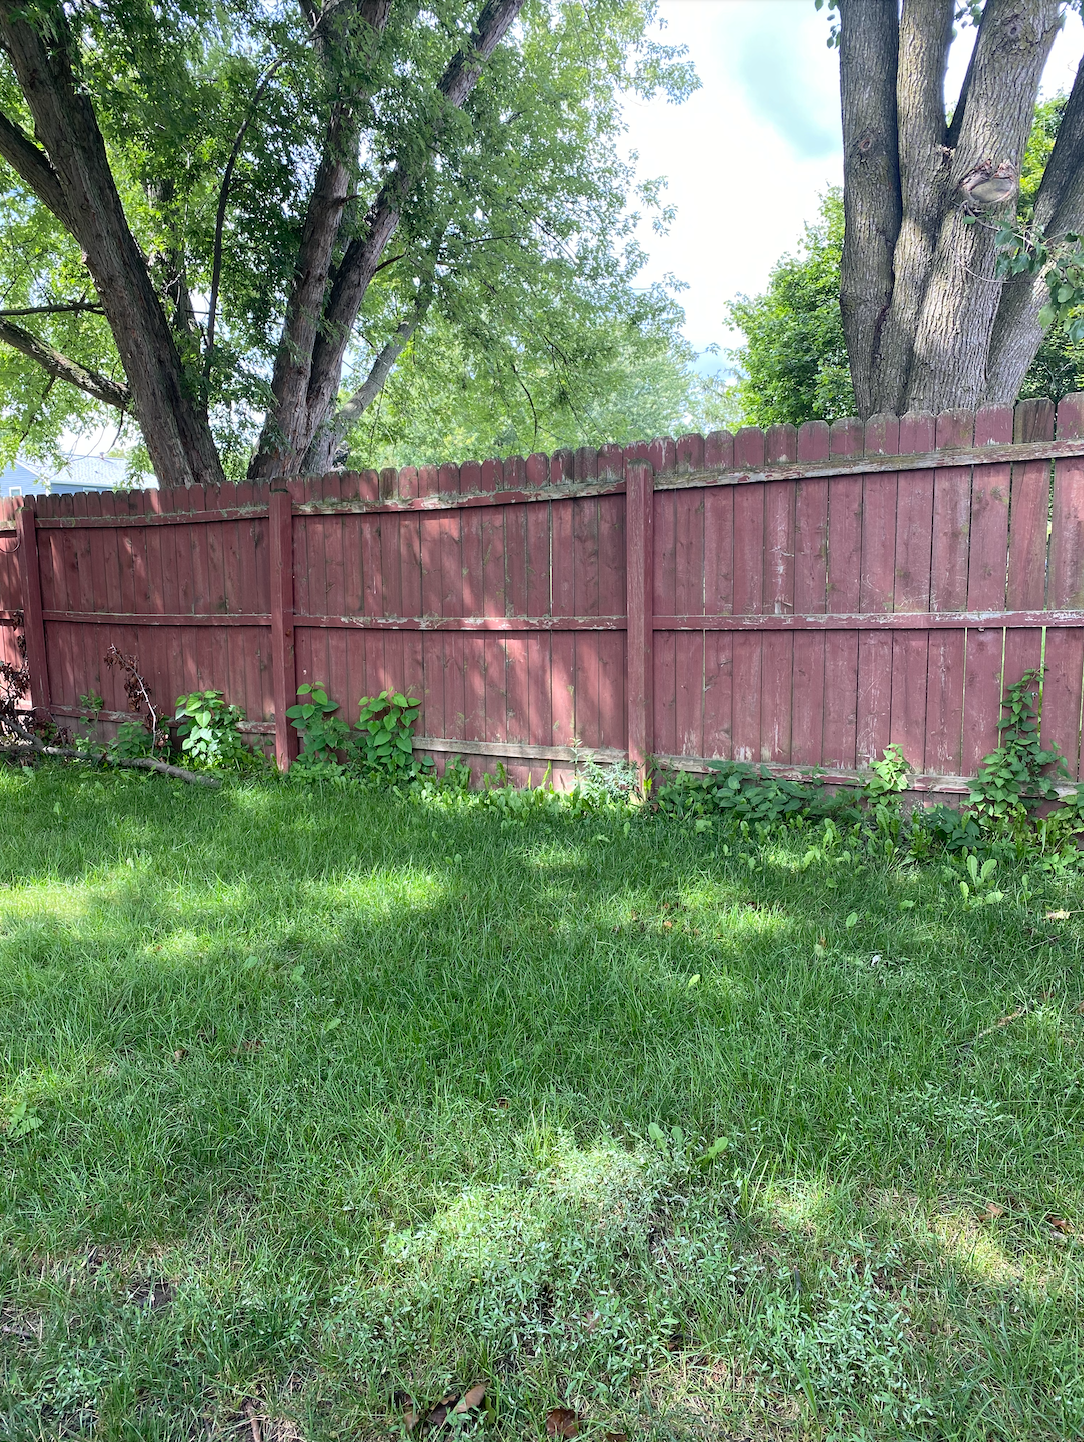
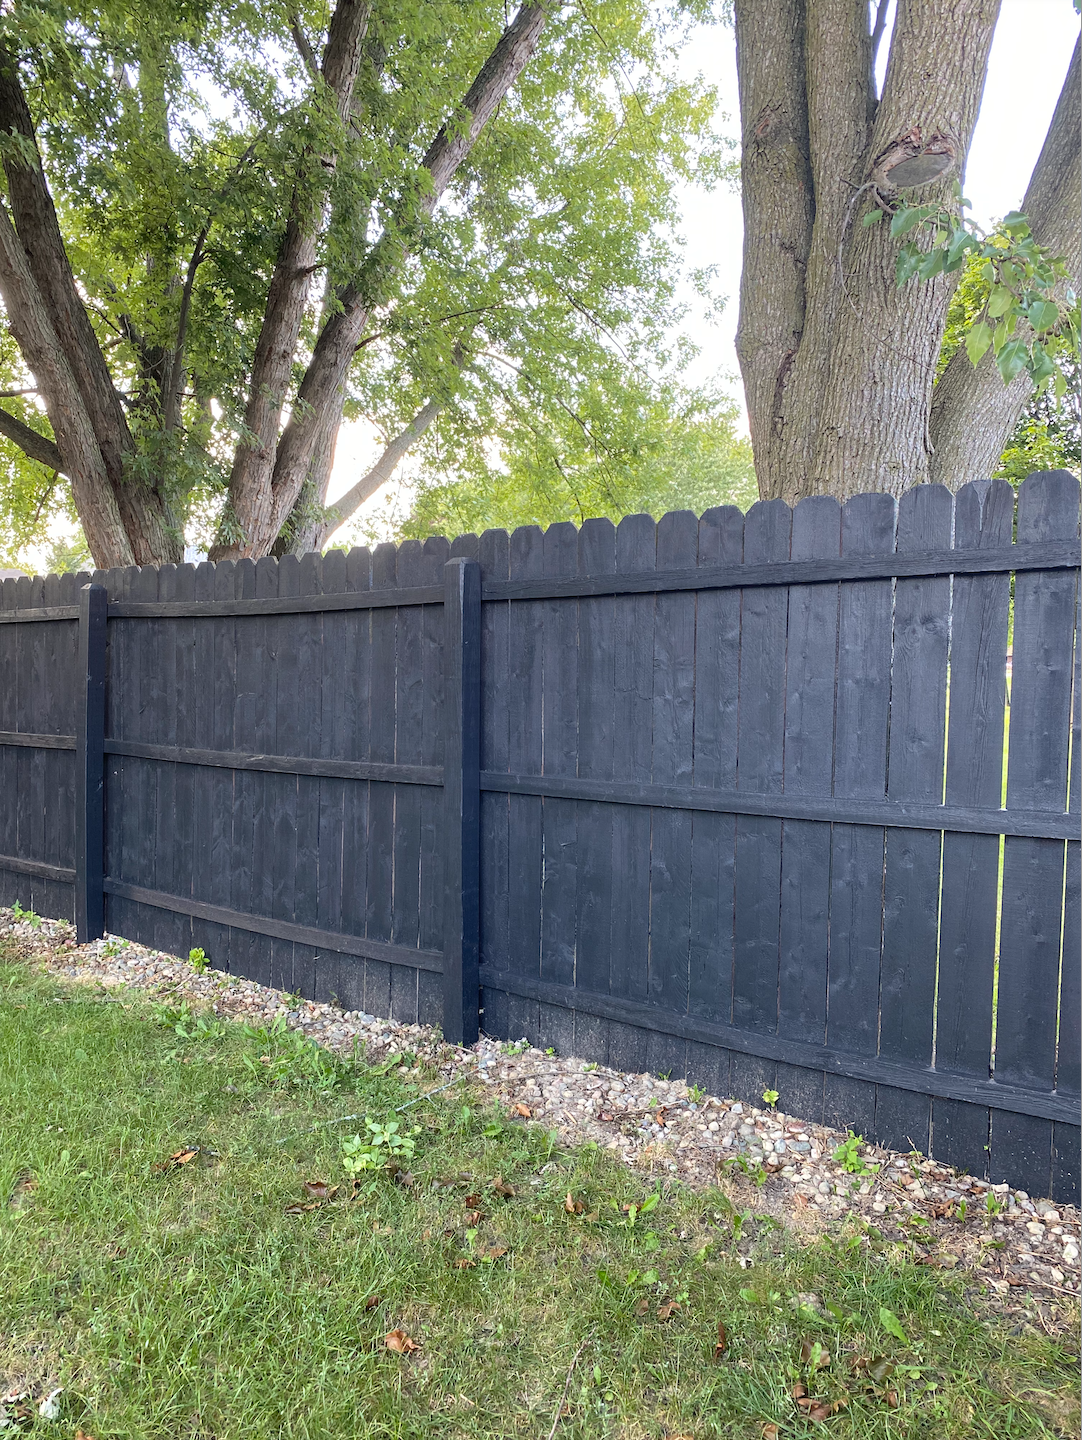
This post is all about staining my wood fence black. I share my process, tips, and before and after photos of our black stained wood fence.
When we moved into this house the previous owner had just recently had it painted blue and white. One of the first projects we did was paint our deck using the extra paint. The deck was originally red and it just didn't blend in with the house anymore. After we painted the deck I got the itch to renovate our fence as well. The fence was stained the same red color as the deck so it didn't match the house after the paint job either, but it was also peeling and in really bad condition. I put the project off for a couple years because it just seemed so overwhelming and I wasn't sure where to start. I finally decided to tackle the project and I'm only kicking myself for not doing it sooner. It made a huge improvement to the look of our back yard and only took me about a week to complete.

This post may contain affiliate links, which means I’ll receive a commission if you purchase through my links, at no extra cost to you. Please read the full disclosure for more information.
The first step of this project was researching the process of staining a wood fence. I decided to use stain rather than paint because it's supposed to hold up longer, and you would likely need to repaint your fence every year if you went that route. I found this to be true with our deck as well, it could definitely use some touch up paint. I decided on the color black because I thought a darker color would hide the flaws in our old fence the best. I went with the color darkest night and used stain from Valspar.

In my research, I found that there are a couple different ways to prep your fence for new stain. If your fence is already stained, it's recommended to remove as much of the stain as possible. You can do this using a gentle pressure washer (although this can damage the wood), a sanding machine, or a chemical solution. I attempted to pressure wash the old stain off of our fence but stopped when I noticed it was weathering away at the wood. Since our fence is so old and in pretty rough condition, I ended up just staining over the current condition of the fence with little to no prep work. My husband and I decided that with the current state of our fence, we just hoped for the new stain to get a few more years out of the fence and we didn't think the prep work was worth the extra time and effort. I might regret this decision depending on how the new stain holds up, so I'll make sure to update this post next year (September 2023) or sooner if I have to touch it up.

Since our house is pretty close in proximity to our neighbors, I decided to stain the fence by hand using rollers and brushes because I was nervous about the overspray from a paint sprayer getting our neighbors house and fence. Although it was tedious using a brush, I found that the roller was soaking up a lot of the stain and I wasn't getting very coverage on the fence. I did continue to use a roller in some areas but I preferred to use the brush. My favorite type of brush to use was a deck brush which was thick, stiff, and provided really good coverage. I would recommend against using thin, flexible brushes as you'll constantly be dipping the brush back into the can of stain and it will take forever. This method took me about a week to finish both the inside and outside of our fence. Besides it being physically labor intensive, it was also difficult to stain in between each board.
A few days after I finished the project, I realized that you could still see the old stain in the cracks between the fence boards when you got up close. I looked into renting a paint sprayer from Home Depot but they didn't allow stain to be used in the one I was interested in using. Right now it doesn't bother us much since you can only tell up close, but I might end up purchasing a sprayer at some point to touch up those areas. Again, I'm still a little nervous to use a sprayer being so close to our neighbors so at this point it's not a huge priority. If I end up doing this, I will be sure to update this post!
Shop the post:
It's crazy how much more enjoyable the view out of our back windows are now that I've stained our fence. It was one of those projects where you didn't realize how much of an eyesore it was until you spruced it up. I'm really hopeful that the stain will stay looking nice for a while even though I was admittedly pretty lazy in how I went about this project. Like I mentioned throughout this post, I will be sure to update this post next summer with how it all holds up. I hope this post was helpful if you are thinking about staining your fence black!

Other posts you might like:

